Last Updated on March 24, 2024 by Vinson Lozano

As an integral part of your bike’s braking system, disc brake rotors play a crucial role in ensuring your safety and optimal performance on the road or trail.
But how do you know when it’s time to replace them? In this article, we’ll guide you through the key factors to consider when assessing the condition of your bike’s disc brake rotors, including wear indicators, signs of damage, and the importance of regular maintenance.
By the end of this article, you’ll have a clear understanding of when it’s time to swap out your old rotors for new ones, keeping your braking system in top shape and ensuring a smooth, reliable ride. So, let’s dive in and discover the signs that indicate it’s time for a rotor change!
Overview of Bike Disc Brake Rotors

Your bike disc brake rotors are an integral part of your bicycle’s braking system. They are responsible for providing the necessary friction when force is applied to the brake levers. With time, these components wear down and might require replacement to keep your bike safe and functional.
Importance of bike disc brake rotors
When it comes to braking, performance and reliability are paramount. With well-maintained brake rotors, you can rest assured of precise and efficient stopping power whenever you need it. The rotors communicate with the brake calipers to slow your bike down, and they work under intense heat and friction. Hence, their optimal condition is critical for your safety and bike performance in every ride!
Signs that indicate the need to change rotors
- Worn-out Rotors: If your brake rotors appear significantly thin, it might be time for a replacement. Rotors that are worn-out become less effective.
- Scoring or Grooves: Check for deep grooves or scoring on your rotors. These are signs that your brake pads have worn into the rotors and can affect braking efficiency.
- Vibrations: Feel any vibrations while braking? It could be due to warped rotors, a definite sign of damage.
- Audible Noises: Any squealing or grinding noise while braking is a clear signal your brake rotors need some attention.
Let’s review these indicators in a summarizing table:
| Indicator | Explanation |
| Worn-out Rotors | Thin rotors are a sign of significant wear and might require replacement for effective braking. |
| Scoring or Grooves | Deep grooves or scoring on your rotors signifies that the brake pads have worn into the rotors, affecting braking efficiency. |
| Vibrations | Vibrations while braking can be due to warped rotors, indicating rotor damage. |
| Audible Noises | Squealing or grinding noises while braking are clear signals that your brake rotors need a check. |
It’s essential to remember that bike maintenance isn’t only about keeping your bicycle’s performance optimal but also prioritizing your safety on the road. So, pay attention to these warning signs, and don’t hesitate to get your brake rotors checked when necessary. It might just save a ride!
Understanding Bike Disc Brake Rotors
Your venture into the world of cycling becomes a lot more rewarding when you have in-depth knowledge about your bike’s functioning. One integral component of your bike that you might want to understand better is the disc brake rotor.
Components and structure of rotors
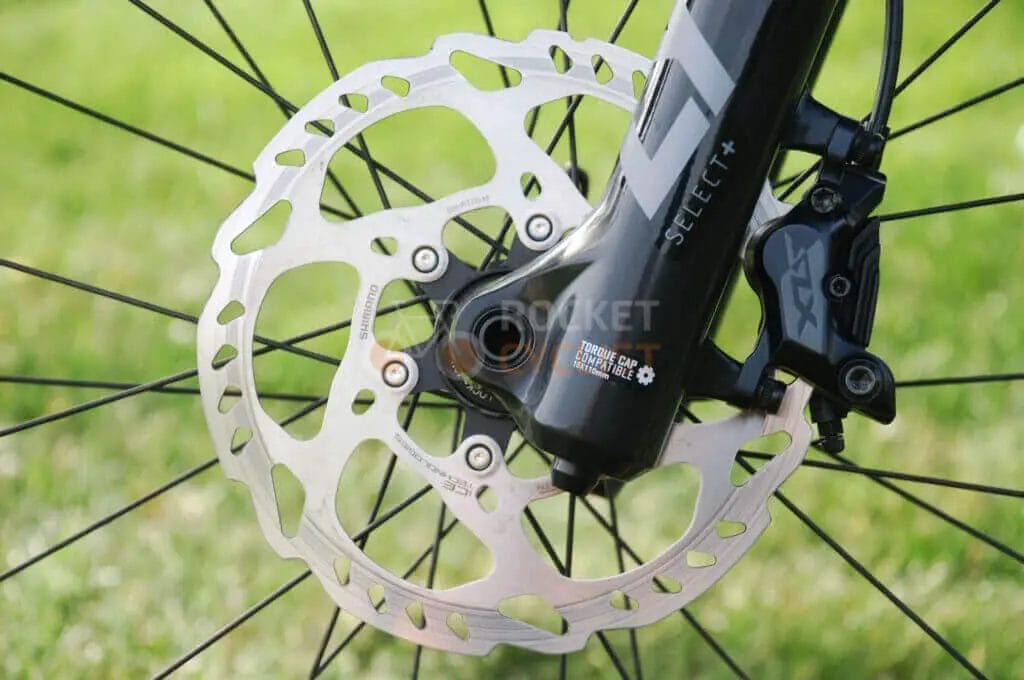
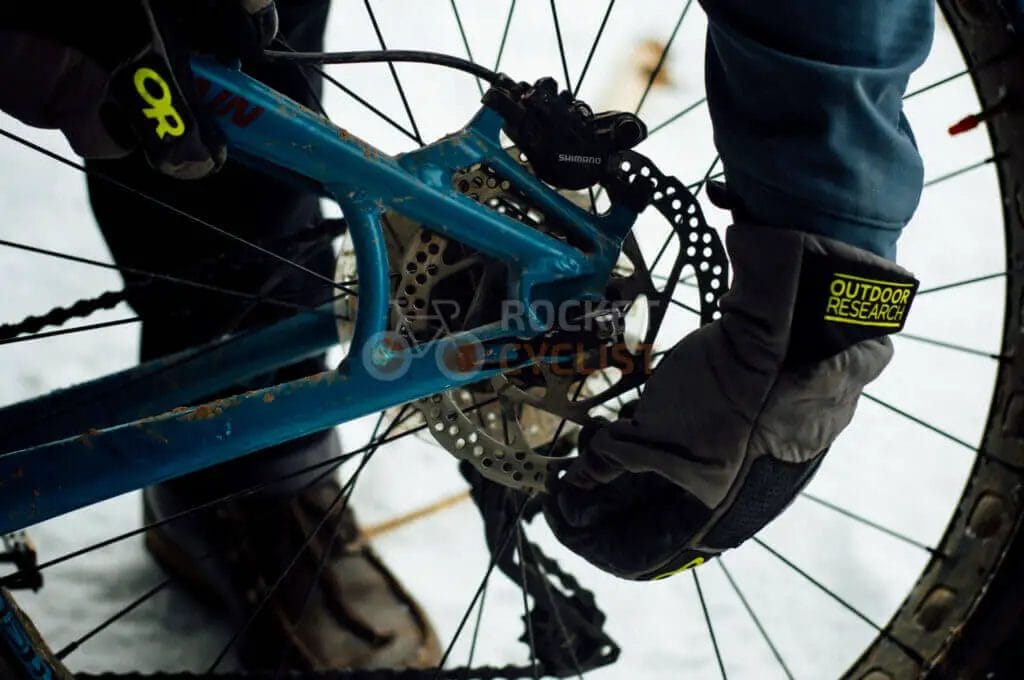
The heart of your bike’s braking system, disc brake rotors are metal discs that attach to your bike wheels. Whenever you apply the brakes, a set of brake pads in the brake caliper squeeze against this disc, and the ensuing friction causes your bike to slow down or stop.
Different types of rotors and their materials
Your bike brake rotors can be of different types:
- Slotted Rotors: These have clean patterns or slots on the friction surface that help clear away dust and gas. They provide more consistent braking and are perfect for mountain biking.
- Drilled Rotors: These have holes over their surface to provide better heat dissipation. They can be a bit more costly but are ideally suited for road bikes.
Materials matter too: Your disc brake rotors are usually made of stainless steel, due to its excellent durability and heat resistance. Some high-end bikes might feature disc rotors made of advanced composites or even carbon fiber, which further helps reduce the weight and increase the heat dissipation.
Now, understanding when to change your bike disc brake rotors is equally important. Do not ignore the signs of wear, like reductions in brake power or increased brake lever travel, strange noises, or visible grooves on the rotor surface. Brake pad material embedded into the rotor, or warping from excessive heat, can also indicate the need for a change.
So keep these pointers in mind and make sure your biking adventures are always safe ones!
Factors Affecting Rotor Wear
As an avid cyclist, you’ll know that maintaining your bike is an essential part of the riding experience, it’s your reliable partner in every adventure. Among the various components of your bicycle, the disc brake rotors play a key role in ensuring safety as they aid in controlling speed and bringing your bike to a smooth stop.
Riding conditions and environments
When you’re navigating through diverse terrains and varying weather conditions, your bike disc brake rotors bear the impact. Typically, harsh conditions such as wet and muddy areas, gritty roads, or steep downhill trails can cause quicker rotor wear. Even sea air, if you live or ride near the coast, can accelerate corrosion.
Frequency and intensity of braking
The frequency and vigorousness of your braking also contribute to the rotor’s lifespan. If you are someone who rides hard and brakes frequently, it can cause the rotors to heat up, leading to warping, thinning, and eventually, wearing out faster.
Maintenance and proper care
Maintenance regime plays a vital role as well. Regularly cleaning your rotors, ensuring they are free from dirt and grime and are correctly aligned, can significantly lengthen their lifespan. Replacing brake pads, when necessary, can also keep your rotors in check.
While it’s difficult to propose an exact time frame for changing your bike disc brake rotors, keeping tabs on these factors will ensure optimal rotor performance. Typically, if a rotor appears visibly thin, warped, or you notice a reduction in braking power, consider it a cue to replace your rotors.
Remember, a well looked after bicycle rewards you with dependable performance and above all, safer rides.
Below is a helpful table summarizing when to consider changing rotors:
| Factor | Effect on Rotor Wear |
| Riding conditions or environments | Harsh conditions can accelerate rotor wear. Sea air can cause corrosion. |
| Frequent or intense braking | It could result in rotors overheating, leading to warping or thinning. |
| Lack of maintenance or improper care | Negligence in cleaning, aligning rotors or not timely replacing of brake pads can shorten life span. |
When to Change Bike Disc Brake Rotors
So, you’re a cycling enthusiast, always on the go, exploring new landscapes. You know your bike is more than just a piece of equipment—it’s your trusty companion! And as with any partnership, you want to ensure its optimal functioning. One of the crucial components of your bike’s health is your disc brake rotors.
Minimum thickness requirements
Your disc brake rotors are more significant than you might think for your safety and overall riding experience. They should not be overlooked, and one of the important things to keep in check is their minimum thickness.
Bike manufacturers typically engrave the minimum thickness (usually around 1.5mm) on the rotor. If these fall below the specified minimum, it’s time to replace them. It’s always best to use a precise measuring tool like a micrometer for accurate measurements.
Visible signs of wear and damage
Visible inspection can also be handy to detect potential issues. Keep an eye out for any significant scoring or gouges caused by the brake pads. Look for “de-glazing”; this is when the outer layer of the rotor has worn too thin, causing a polished or mirror-like finish.
Unusual noises or vibrations during braking
Your bike is good at communicating when something is off. In the case of troubled rotors, you might notice unusual noises, like squeaking or squealing, when applying brakes.
Similarly, if you feel vibrations in the brake lever or through the bike frame during braking, it may indicate a warped rotor, suggesting it’s time for a change.
Proper maintenance of your bike disc brake rotors enhances your safety on the road. Keep these points in mind to ensure smooth rides and prolonged rotor life.
Check regularly, and you’ll continue to enjoy those exhilarating rides with your reliable partner—your bike.
How to Inspect and Measure Rotor Wear
Want to keep your bike in tip-top shape? Substandard disc brake rotors can be the weak link in your biking experience. Here’s how to know when it’s time to replace them.
Visual examination for signs of wear and damage
Give your bike a good look. At times, worn-out disc brake rotors are visible to the naked eye. If you see deep scores, significant grooving or any form of severe physical damage, it could be time to purchase new disc brake rotors.
Using a caliper to measure thickness
Like any component of your bike, with time, disc brake rotors experience wear and tear. They naturally thin down due to friction, impacting their performance. Using a caliper, you can measure the thickness of your rotor. This tool gives an accurate measurement, helping you decide whether to change the rotor or not.
Comparing measurements with manufacturer’s specifications
Take note of the measurements obtained from the caliper, then cross-check with the rotor thickness specifications provided by the manufacturer. Should your rotors measure less than the “Minimum Thickness” or “Discard Thickness” specified, it’s time for a replacement.
Be aware that light surface corrosion or minor dents may not warrant a replacement. However, if your examination finds noticeable wear, warping, or if measurements fall short of manufacturer’s specifications, invest in new disc brake rotors. This will ensure a safer, smoother, and more controlled ride.
Here’s a simple checklist to recap:
| Method | How To |
| Visual examination | Check for deep scores, grooving or severe damage in your rotors. |
| Use a caliper | Use a caliper to measure the thickness of your rotors. The thinner they are, the more likely you need a replacement. |
| Cross-check measurements | Compare your readings with manufacturer’s specifications. If it’s less than minimum thickness, replace the rotors. |
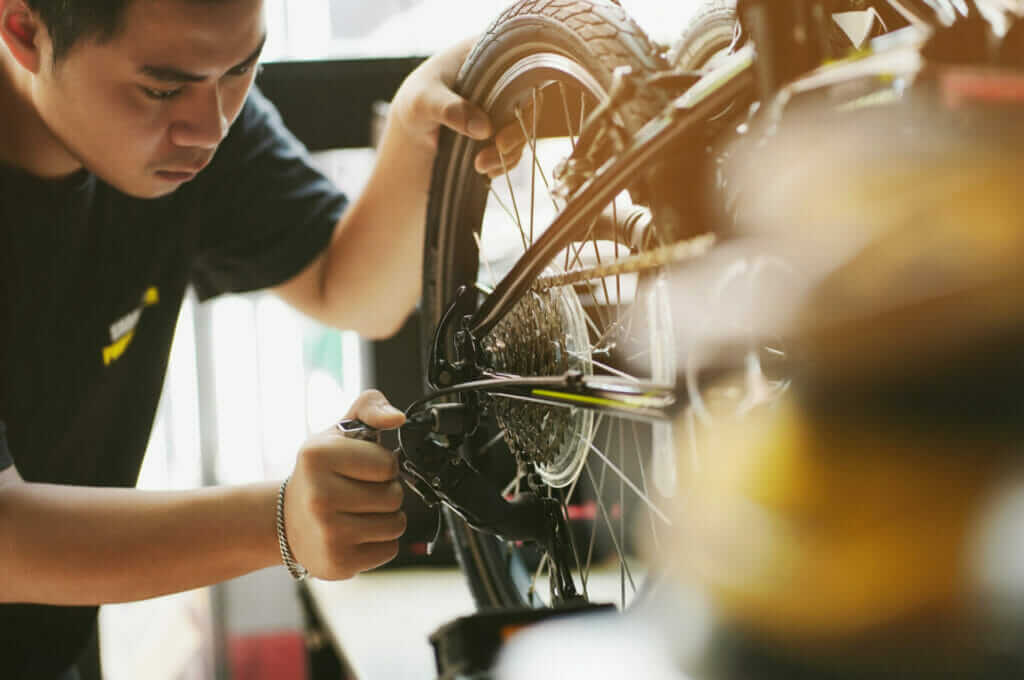
Steps to Replace Bike Disc Brake Rotors
Is your bike squeaking, pulsing, or just not stopping like it used to? It’s possible that your disc brake rotors need to be replaced.
Gathering necessary tools and materials
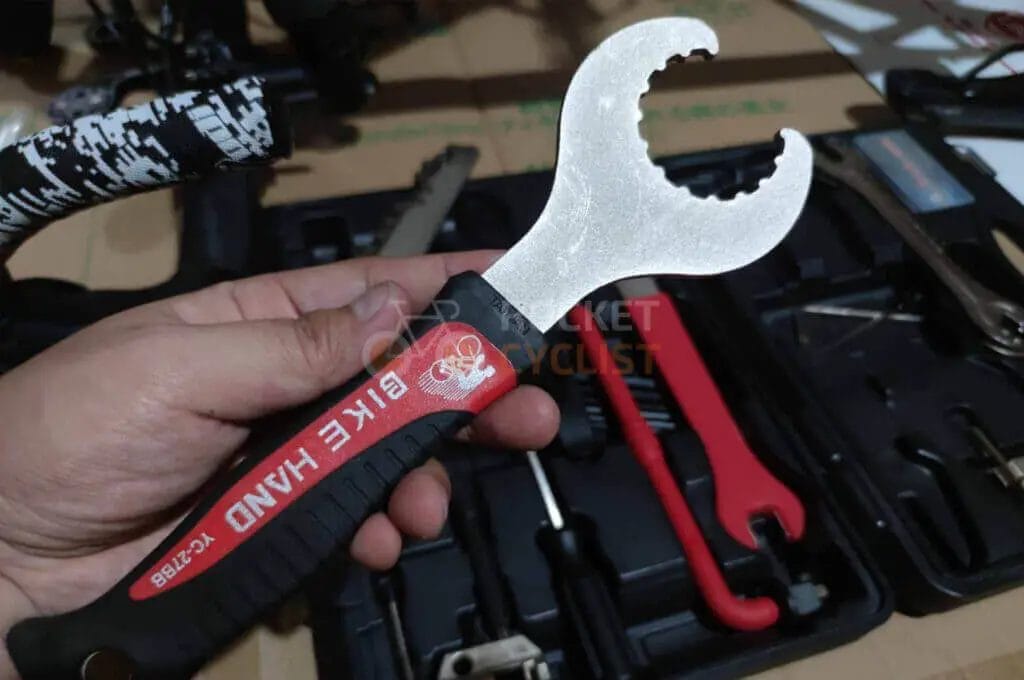
Before you start, you’ll need to gather the necessary tools and materials: a new disc brake rotor, an Allen wrench or a Torx driver, and some isopropyl alcohol for cleaning. Make sure your new rotor is of the same size as the old one to ensure proper fit and function.
Removing the old rotor
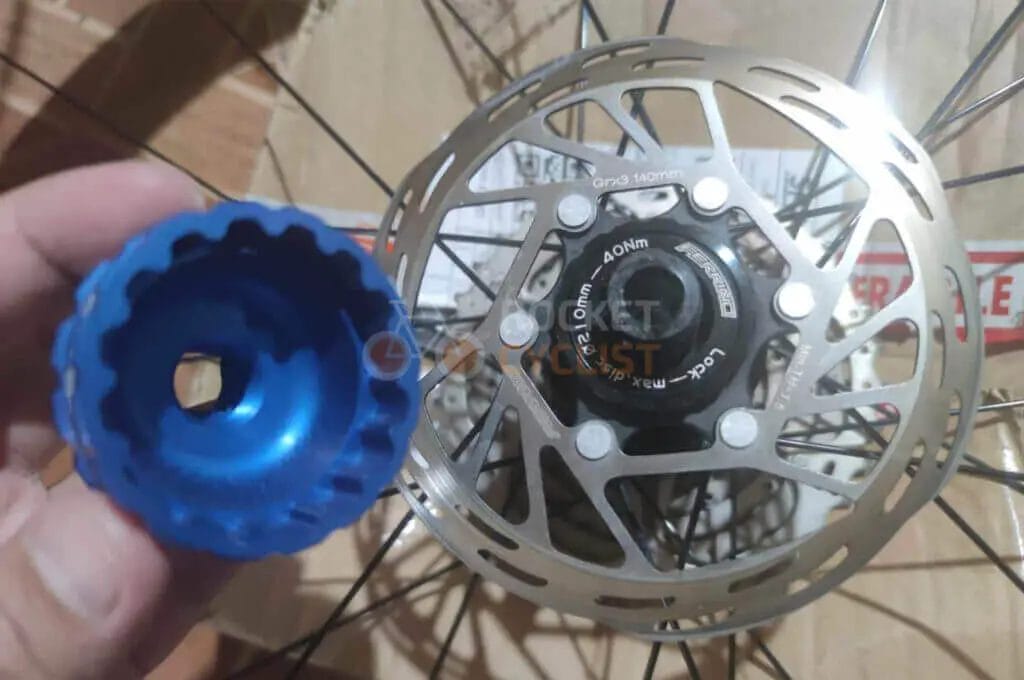
Once you have everything, you can begin! First, you need to remove the wheel from your bike and then take off the old rotor. Use your Allen wrench or Torx driver to loosen the screws that hold the rotor onto the wheel hub. Keep these screws; you will use them to attach the new rotor.
Installing the new rotor

Now it’s time for the new rotor. Align the bolt holes on the rotor with those on the hub, and fasten it in place using the screws you set aside earlier. Make sure to tighten the screws evenly in a star pattern – this helps prevent the rotor from warping.
Properly aligning and adjusting the brake system
With the new rotor installed, put the wheel back on your bike. Before you hop on and ride off, take some time to adjust your brake system. Check the distance between the rotor and the brake pads; it should be even on both sides.
Finally, do a quick test ride to ensure the brakes are working effectively.
Remember: for your safety, it’s crucial to keep an ongoing eye on the state of your disc brake rotors. Regular inspections and timely replacements ensure your precious bike is always ride-ready and safe. Happy Riding!
Extending the Lifespan of Bike Disc Brake Rotors
You’re a passionate cyclist, apart from the joy riding brings, there’s also the need to ensure your bike is in peak condition. Pay special attention to your bike disc brake rotors, keeping them in top shape is critical for safety and riding performance.
Regular cleaning and maintenance
Don’t underestimate the value of regular cleaning and maintenance of your bike disc brake rotors. Small grit, dust, and debris may accumulate, obstructing the performance. Hence, rinsing or wiping your bike rotors regularly using a clean, soft cloth with cleaning agents like isopropyl alcohol will help maintain consistency in the braking system while also preventing early wearing out.
Braking techniques to reduce rotor wear
Mastering braking techniques is another excellent way to enhance your rotor lifespan. Abrupt or continuous braking may not only put you at risk but also wears out your rotors excessively. Reducing dependence on the brake, and adapting the skills of predictive and gradual braking, you can significantly reduce rotor wear.
Using compatible brake pads and avoiding contamination
Your brake pad selection matters. Make sure you use compatible brake pads, inappropriate pads can damage your rotors causing fast wear and tear. Additionally, avoiding contaminating your bike disc brake rotors with oil, lubricants, hydraulic fluids, or degreasers will also significantly extend their lifespan.
Here’s a concise summary in tabular form:
| Method | Explanation |
| Regular cleaning and maintenance | Cleaning your bike disc brake rotors regularly can help maintain performance and prevent early wear and tear. |
| Resilient Braking Techniques | By mastering predictive and gradual braking, you can significantly reduce bike disc brake rotor wear. |
| Compatible Brake Pads | The use of suitable brake pads and avoidance of rotor contamination through oil, lubricants, or hydraulic fluids, extends the lifespan of bike disc brake rotors. |