Last Updated on July 9, 2023 by Vinson Lozano
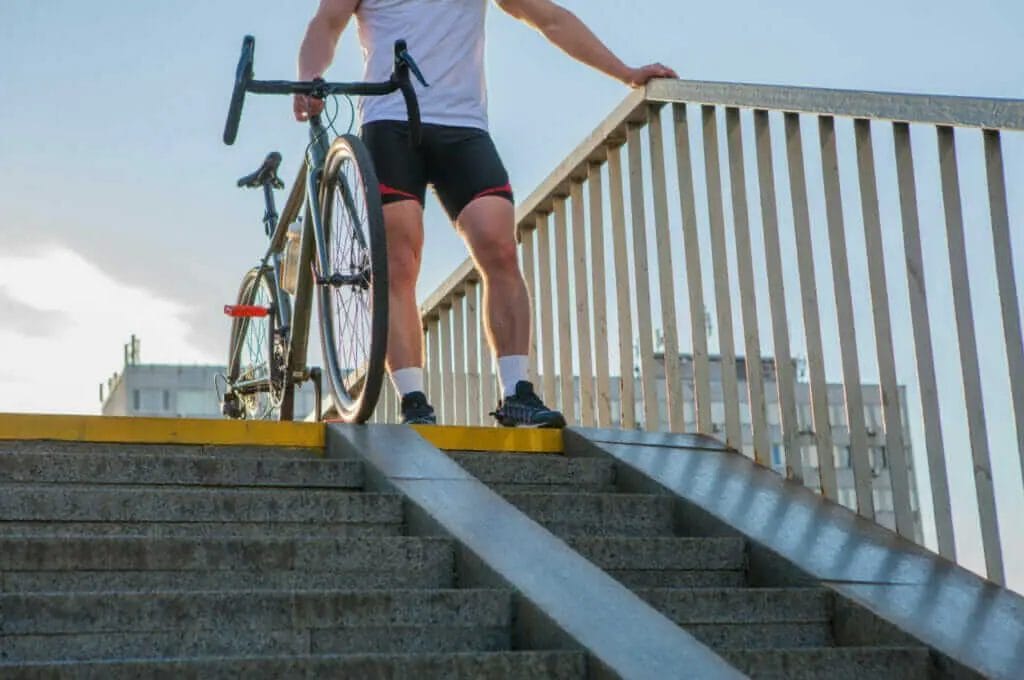
When it comes to cycling, pinch flats can be a frustrating and potentially dangerous occurrence. Pinch flats, also known as snake bites, occur when the inner tube of a bicycle tire gets pinched between the rim and an obstacle, such as a pothole or curb. This can result in a flat tire and can leave cyclists stranded on the side of the road.
Understanding pinch flats and their impact on cycling
Pinch flats typically happen when a cyclist hits an obstacle with their tire at a high speed or with a significant amount of force. The impact causes the tire to compress, squeezing the inner tube against the rim and resulting in a puncture. These types of flats are characterized by two small, parallel slits on the inner tube, resembling the fangs of a snake.

Importance of avoiding pinch flats
Avoiding pinch flats is crucial for several reasons:
- Safety: Pinch flats can cause sudden deflation of the tire, leading to loss of control and potentially causing accidents.
- Cost: Replacing inner tubes and repairing punctured tires can add up in terms of cost, especially if pinch flats occur frequently.
- Convenience: Dealing with a flat tire on a cycling trip can be inconvenient and time-consuming, taking away from the enjoyment of the ride.
By taking precautions and following best practices, cyclists can significantly reduce the risk of pinch flats and enjoy a smoother and safer ride.
Proper Tire Pressure
The importance of maintaining proper tire pressure
Maintaining proper tire pressure is essential for avoiding pinch flats on a bicycle. Pinch flats, also known as snake bites, occur when the tire compresses against the rim and pinches the inner tube, resulting in a puncture. Here are some reasons why maintaining proper tire pressure is crucial:
1. Preventing pinch flats: By maintaining the recommended tire pressure, you ensure that the tire is properly inflated and can provide adequate protection against pinch flats.
2. Enhancing ride quality: Proper tire pressure allows for better traction, smoother rides, and improved handling. It ensures optimal contact between the tire and the road, resulting in a more enjoyable cycling experience.
How to determine the correct tire pressure for your bicycle
Finding the correct tire pressure for your bicycle involves considering various factors, such as rider weight, tire size, and riding conditions. Here are some guidelines to help you determine the ideal tire pressure for your bike:
1. Manufacturer’s recommendations: Check the sidewall of your tire for the recommended pressure range. This information is usually printed on the tire and provides a starting point for inflation.
2. Rider weight: Heavier riders may require higher tire pressures, while lighter riders can opt for slightly lower pressures. Adjust the pressure within the recommended range to accommodate your weight.
3. Riding conditions: Different riding conditions may call for adjustments in tire pressure. For smoother roads, you can opt for higher pressures, while rougher terrains may require slightly lower pressures for improved comfort and traction.
4. Experiment and fine-tune: Every cyclist’s preference may vary. It’s crucial to experiment with tire pressures and fine-tune them based on your comfort and riding style. Pay attention to how the bike feels and handles to find the optimal pressure for your needs.
Remember to regularly check and adjust your tire pressure to ensure optimal performance and prevent pinch flats. Proper tire pressure is key to enjoying a safe and smooth ride on your bicycle.
Choosing the Right Tire
When it comes to avoiding pinch flats on a bicycle, selecting the right tire is crucial. Here are some factors to consider when choosing tires to prevent pinch flats:
Factors to consider when selecting tires to prevent pinch flats:
1. Tire Pressure: Maintaining the correct tire pressure is essential in preventing pinch flats. Low tire pressure increases the chance of the tire hitting an object and getting pinched.
2. Tire Width: Wider tires generally offer better pinch flat protection compared to narrower ones. The wider the tire, the more cushion it provides against impacts.
3. Tire Construction: Look for tires with reinforced sidewalls or additional puncture protection layers. These features can help to prevent pinch flats by adding an extra layer of defense against punctures.
Types of tires that offer better protection against pinch flats:
1. Tubeless Tires: Tubeless tires are becoming increasingly popular among cyclists. They do not require inner tubes and are less prone to pinch flats.
2. Puncture-Resistant Tires: Some tire models are specifically designed with puncture-resistant materials or additional layers to prevent flats caused by pinching.
3. Mountain Bike Tires: Mountain bike tires, particularly those with wider profiles and higher volume, typically offer better pinch flat protection due to their ability to absorb impacts and negotiate rough terrain.
Remember, choosing the right tire is only one part of preventing pinch flats. Maintaining proper tire pressure, avoiding sharp objects, and regularly inspecting your tires for any signs of wear or damage are also crucial in reducing the risk of pinch flats on your bicycle.
Using Tire Liners or Sealants
Benefits of using tire liners or sealants to prevent pinch flats
Using tire liners or sealants is an effective way to prevent pinch flats and enhance the overall durability of your bicycle tires. Here are some key benefits of using these preventive measures:
- Increased Puncture Resistance: Tire liners or sealants provide an extra layer of protection between the inner tube and the tire, reducing the risk of punctures and pinch flats caused by sharp objects on the road.
- Sealing Small Punctures: In the event of a small puncture, sealants can often seal the hole automatically, preventing the need for immediate repairs or tube replacements.
- Extended Tire Lifespan: By preventing pinch flats and reducing the chances of punctures, tire liners or sealants can help prolong the lifespan of your bicycle tires, saving you money on frequent replacements.
How to install tire liners or apply sealants to your bicycle tires
Installing tire liners or applying sealants to your bicycle tires is a relatively simple process. Here’s a step-by-step guide:
- Tire Liners: To install tire liners, start by deflating the tire and removing it from the rim. Place the liner between the inner tube and the tire, ensuring it covers the entire inner surface of the tire. Carefully reseat the tire on the rim and inflate it to the recommended pressure.
- Sealants: To apply sealants, first, remove the valve core from the inner tube using a valve core remover tool. Shake the sealant bottle to mix the contents and then pour the recommended amount into the inner tube through the valve stem. Replace the valve core and re-inflate the tire to the recommended pressure.
Remember to check the manufacturer’s instructions for specific guidelines and recommendations when using tire liners or sealants. These preventive measures can greatly reduce the occurrence of pinch flats and make your cycling experience more enjoyable and hassle-free.
Correct Riding Technique
When it comes to avoiding pinch flats on your bicycle, having the correct riding technique is crucial. Here are some tips to minimize the risk of pinch flats:
Tips for riding techniques to minimize the risk of pinch flats:
–Maintain proper tire pressure: Make sure your tires are properly inflated before each ride. Underinflated tires are more susceptible to pinch flats.
–Avoid hitting curbs and potholes: Be mindful of your surroundings and try to avoid rough terrain, curbs, and potholes that can cause pinch flats.
–Avoid sharp turns at high speeds: Sharp turns at high speeds can put excessive stress on your tires, increasing the risk of pinch flats. Slow down and take wider turns, especially when riding on uneven terrain.
Avoiding rough terrain and obstacles that can cause pinch flats:
–Choose smoother routes: Plan your rides on smoother roads or trails to minimize the risk of encountering rough terrain. Avoid areas with known potholes or excessive gravel.
–Use suspension systems: If you frequently ride on bumpy or uneven surfaces, consider investing in a bike with front fork suspension or full suspension. These systems can help absorb shocks and reduce the risk of pinch flats.
By employing these riding techniques and avoiding rough terrain and obstacles, you can significantly reduce the likelihood of experiencing pinch flats while cycling. Remember to always ride safely and wear appropriate protective gear.
Tire Inspection and Maintenance
Regular tire inspection and maintenance to prevent pinch flats
Proper tire inspection and maintenance are essential for preventing pinch flats. Here are some tips to help you avoid this frustrating issue and ensure a smooth ride:
1. Check tire pressure: Make sure your tires are properly inflated to the recommended pressure. Underinflated tires are more susceptible to pinch flats as they are more likely to compress and bottom out against the rim.
2. Inspect the tire condition: Regularly inspect your tires for any signs of wear or damage, such as cuts, bulges, or embedded objects. Replace worn-out or damaged tires immediately to reduce the risk of pinch flats.
3. Use wider tires: Consider using wider tires, especially if you frequently ride on rough or uneven surfaces. Wider tires provide better cushioning and reduce the likelihood of the tire bottoming out and causing a pinch flat.
4. Avoid rough terrain: Be mindful of the terrain you ride on and try to avoid rough surfaces, potholes, and other obstacles that can increase the risk of pinch flats.
5. Use tire liners or puncture-resistant tires: Consider using tire liners or puncture-resistant tires to add another layer of protection against pinch flats. These accessories can help prevent sharp objects from penetrating the tire and causing flats.
By regularly inspecting your tires, maintaining proper tire pressure, and taking precautions, you can minimize the risk of pinch flats and enjoy a comfortable and hassle-free ride.
Importance of Rim tape and Rim Strips
The role of rim tape and rim strips in preventing pinch flats
Rim tape and rim strips play a crucial role in preventing pinch flats, also known as snake bites, on a bicycle. Pinch flats occur when the inner tube is pinched against the rim, causing punctures and flat tires. Here’s how rim tape and rim strips help prevent pinch flats:
- Rim tape: Rim tape is a strip of non-stretchable material that covers the spoke holes on the rim. Its primary function is to provide a protective barrier between the inner tube and the spoke holes. Without rim tape, the sharp edges of the spoke holes can puncture the inner tube, leading to pinch flats.
- Rim strips: Rim strips are wider strips of material that cover the entire rim bed. They provide additional protection to the inner tube by covering any imperfections or sharp edges on the rim. Rim strips also help distribute the pressure more evenly, reducing the likelihood of pinch flats.
Methods to ensure proper installation of rim tape and rim strips
Proper installation of rim tape and rim strips is essential to ensure their effectiveness in preventing pinch flats. Here are some methods to ensure a proper installation:
- Clean the rim: Before installing rim tape or rim strips, clean the rim thoroughly to remove any dirt, debris, or old tape. A clean surface will help the tape or strip adhere properly.
- Choose the right size: Make sure to select the correct size of rim tape or rim strip for your specific rim. Using the wrong size can result in improper coverage and potential pinch flats.
- Apply evenly and snugly: When installing rim tape or rim strips, ensure they are applied evenly and snugly around the rim. Avoid any wrinkles or folds that may create uneven pressure points.
By properly installing rim tape and rim strips, cyclists can significantly reduce the risk of pinch flats and enjoy a smoother and more reliable riding experience.