Last Updated on October 19, 2024 by Vinson Lozano

Breaking a bike chain without a special tool might seem like a daunting task, especially if you find yourself in a pinch during a ride. However, with a bit of ingenuity and some household items, you can manage this task efficiently and get back on the trail or road in no time. This guide will walk you through alternative methods to break a bike chain, ensuring you can perform emergency bike repairs even without specialized tools.
Key Takeaways
- Understanding Bike Chain Mechanics: Recognize the structure and function of a bike chain to effectively handle repairs.
- DIY Tools for Chain Breaking: Explore household items that can substitute for a chain tool.
- Step-by-Step Guide: Follow detailed steps to safely and effectively break a bike chain.
- Safety Precautions: Learn important safety tips to avoid injury and damage to your bike.
- Troubleshooting Common Issues: Address common problems that may arise while breaking a chain without standard tools.
- Maintenance Tips: Gain insights on maintaining your bike chain after breaking it, to ensure longevity and optimal performance.
- Resourcefulness in Emergency Situations: Develop skills to handle unexpected bike maintenance issues on the go.
Understanding Bike Chain Mechanics
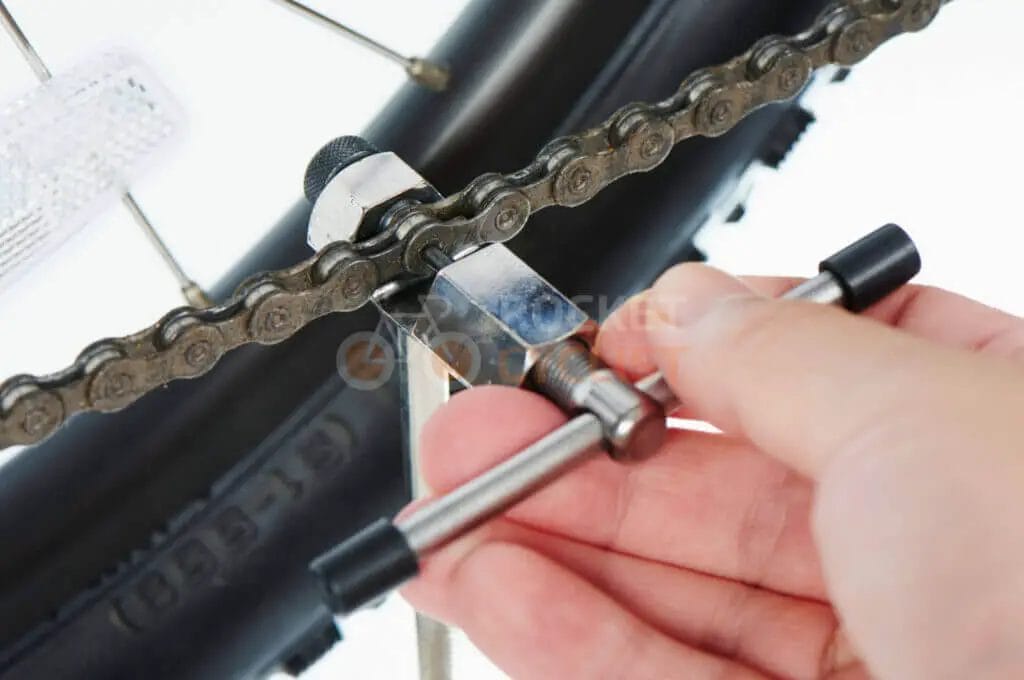
A bike chain is crucial for transferring power from the pedals to the drive-wheel, which in turn propels the bike forward. Each chain consists of a series of links that fit together securely, with pins holding each link in place. Normally, a chain tool is used to push these pins out, allowing the chain to be separated. However, without this tool, you’ll need to rely on alternative methods.
Alternative Methods to Break a Bike Chain

Using a Hammer and Nail
- Find a Suitable Work Surface: Place the chain on a solid, stable surface that can withstand hammering.
- Align the Nail: Position a sturdy nail against the pin of the chain link you wish to remove.
- Hammer Gently: Tap the nail with a hammer until the pin starts to move out of the link. Be careful not to damage the link itself.
- Remove the Pin: Once the pin is loose enough, use pliers to pull it out completely.
Using a Makeshift Punch
- Create a Punch Tool: Find a small, strong metal rod—a large nail or a small bolt can work.
- Position Your Chain: Secure the chain on a piece of wood, ensuring it’s held firmly.
- Drive the Pin Out: Place the makeshift punch against the chain pin and use a hammer to drive the pin out.
Safety Precautions
- Wear Protective Gear: Always wear safety glasses to protect your eyes from flying metal pieces.
- Secure the Chain: Ensure the chain is held firmly in place to prevent slipping while you work.
- Check for Damage: After breaking the chain, inspect it for any damage that might have occurred during the process.
Maintenance Tips After Breaking a Bike Chain

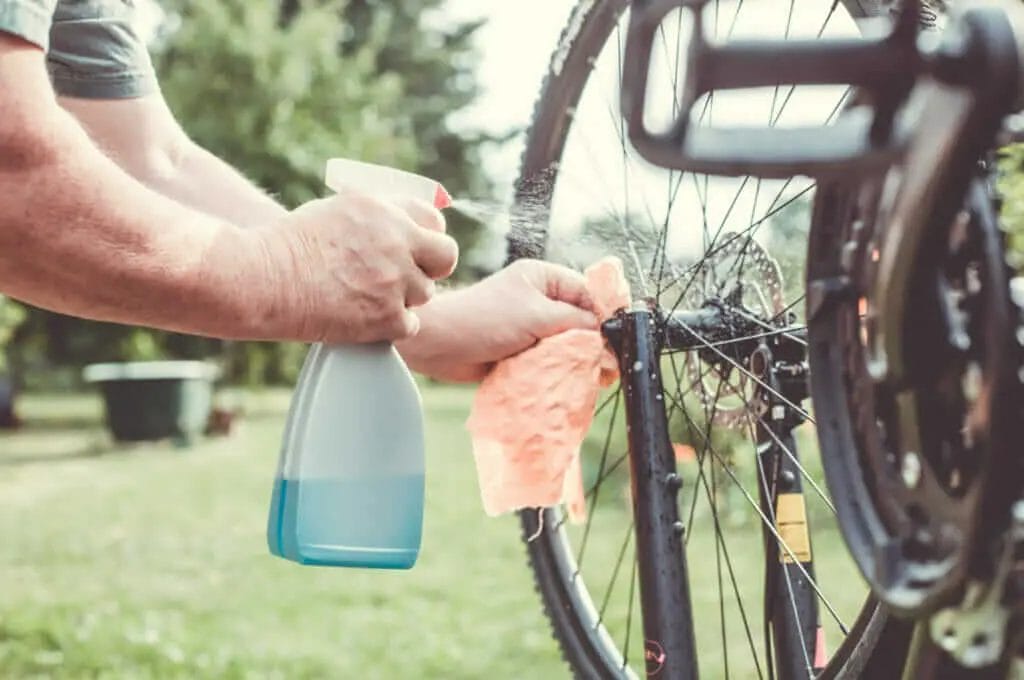
- Clean the Chain: Remove any debris or dirt that might have accumulated on the chain.
- Lubricate the Chain: Apply a suitable lubricant to ensure smooth operation and to prevent rust.
- Regular Inspection: Regularly check the chain for wear and tear, especially if you’ve had to break it manually before.
Conclusion
Breaking a bike chain without a special tool is definitely within your reach with the right knowledge and a few household items. This guide not only helps you in emergency situations but also enhances your overall bike maintenance skills, ensuring you’re prepared for anything during your rides.
Have you ever had to break a bike chain without a special tool? Share your experiences and tips in the comments below! Your insights could help fellow cyclists handle similar situations with ease.
FAQ Section
Q1: Can I reuse a bike chain after breaking it?
A1: Yes, you can reuse a bike chain if it was not damaged during the breaking process. Ensure it is properly reconnected and secured.
Q2: How do I know which chain link to remove?
A2: Typically, you should remove the link that shows signs of damage or wear. If you’re shortening the chain, remove links evenly from both ends to maintain balance.
Q3: What are the risks of breaking a bike chain without a tool?
A3: The main risks include damaging the chain or injuring yourself. Follow safety guidelines closely to minimize these risks.
Q4: How often should I check my bike chain for maintenance?
A4: Check your bike chain at least once a month for regular riders, or more frequently if you ride in harsh conditions.
Q5: What type of lubricant should I use on my bike chain?
A5: Use a lubricant specifically designed for bike chains, which will help protect against rust and reduce wear.
Q6: Can I use any metal rod as a punch to break a bike chain?
A6: It’s best to use a metal rod that fits closely in size to the chain pin to avoid damaging the chain.
Q7: What should I do if I can’t remove the chain pin completely?
A7: If the pin is stuck, apply penetrating oil and let it sit for a few minutes. Then, try removing the pin again with pliers.


