Last Updated on December 4, 2024 by Vinson Lozano

Disc brakes are a game-changer for cycling, offering superior stopping power and control in all conditions, but they require regular maintenance to perform their best. Cleaning your bicycle disc brakes might seem tricky, but it’s much easier—and more essential—than you think. In this guide, you’ll learn everything you need to know, from degreasing disc brakes to effective brake noise troubleshooting, ensuring your brakes perform as intended every single ride.
Whether you’re a casual rider or a cycling enthusiast, spotless disc brakes are key to maintaining bike safety and optimizing brake performance. Let’s dive right in!
Key Takeaways: Disc Brake Cleaning Tips
- Regular cleaning prevents dirt, grime, and oils from compromising brake performance.
- A clean brake rotor ensures consistent stopping power and reduces brake noise.
- Use appropriate cleaning solutions for disc brakes, like isopropyl alcohol or brake-specific cleaners.
- Always remove brake pads before degreasing disc brakes to prevent contamination.
- Brake noise troubleshooting involves cleaning the rotor and pads to remove residues.
- Proper tools, such as lint-free cloths and torx wrenches, make cleaning safe and effective.
- Routine maintenance prolongs the lifespan of your disc brakes and enhances overall ride quality.
Everything You Need to Know About Cleaning Bicycle Disc Brakes
What Happens if You Neglect Disc Brake Cleaning?
When dirt, oils, or debris build up on your disc brakes, it leads to poor braking performance, noisy stops, and even dangerous slipping. Worse, contaminants can damage brake rotors or pads over time, forcing expensive repairs. Regular cleaning, especially after wet or muddy rides, keeps these risks at bay while boosting safety on the road or trail.
Tools for Brake Cleaning: What You’ll Need
Before you jump into cleaning, gather these essential items:
- Isopropyl Alcohol (99% preferred) or a disc-brake-specific cleaner.
- Lint-Free Cloths or Paper Towels for residue-free wiping.
- Torx Wrench or Allen Key, depending on your disc brake setup.
- Soft-Bristle Brush or an old toothbrush for scrubbing persistent dirt.
- Brake Cleaner or Sanding Paper (for stubborn brake pad cleaning).
Having the right tools for brake cleaning ensures safe and effective maintenance while preventing unnecessary damage.
Step-by-Step: How to Clean Bicycle Disc Brakes
1. Remove the Brake Pads First
When cleaning, avoid contaminating your brake pads at all costs! Start by carefully removing the pads using a torque or allen wrench. Place them on a clean, dry surface away from any cleaning solutions. Check them for wear and replace if necessary.
Pro Tip: Avoid touching the pads directly to keep oils from your hands off the surface.
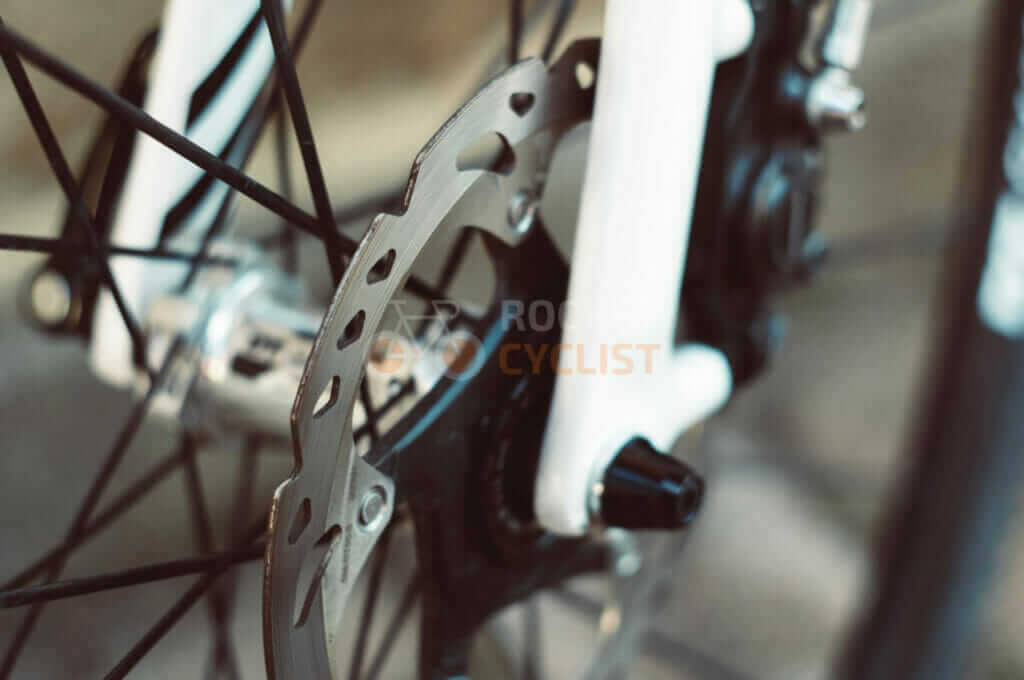
2. Wipe Down the Brake Rotors
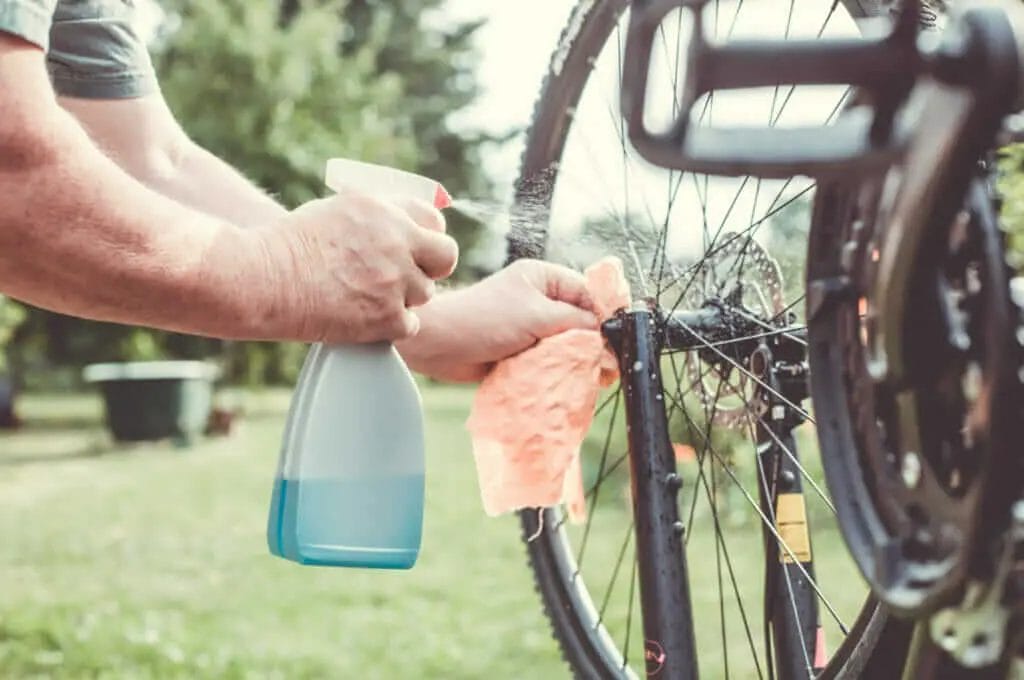
Spray isopropyl alcohol or a brake-specific cleaning solution directly onto the rotor. Use a lint-free cloth to wipe each side thoroughly, removing built-up grime.
If your rotors are especially dirty, a second round of alcohol application and wiping may be necessary. This step is crucial for brake performance improvement and reducing noise.
3. Degrease Stubborn Contaminants
For particularly greasy or muddy grime, you may need to lightly scrub the rotor with a soft-bristle brush before wiping with your cleaning solution. Avoid steel brushes or anything abrasive, which can damage the surface and compromise rotor performance.
4. Clean the Brake Pads
For brake pads showing signs of contamination, lightly sand the surface with fine-grit sandpaper, then clean them with isopropyl alcohol. Be sure to work gently—this process restores braking efficiency without ruining the pads.
If grease stains or contaminants can’t be removed completely, it may be time to replace the pads.
5. Reassemble and Test
Once your rotors and pads are spotless and dry, refit the brake pads and ensure all bolts are tightened securely. Spin the wheel to check alignment and test the brakes. They should grab evenly with no noise.
Solutions for Persistent Brake Noise Troubleshooting
Even after a thorough cleaning, some disc brakes might squeal or squeak. Here’s what you can do:
- Recheck Pad Positioning: Misaligned pads often cause uneven braking and noise. Realign them if necessary.
- Inspect for Glazing: Overheated pads can result in a glazed surface that reduces braking power. Sand them lightly to eliminate this layer.
- Brake Bed-In Procedure: After cleaning or replacing pads, re-bed them by braking gradually at various speeds.
Safe Cleaning Practices for Disc Brakes
Cleaning bicycle disc brakes requires care to avoid unintentional damage. Here are some safety tips:
- Avoid generic degreasers or household cleaners not designed for bike components.
- Never touch a hot rotor directly; allow brakes to cool post-ride.
- Ensure the rotor and pads are completely dry before reassembly.
- Test your brakes in a safe space (like a parking lot) after cleaning.
Proper practices can make all the difference for durable and consistent brake performance.
Essential Brake Rotor Maintenance Tips
To keep rotors in top condition:
- Inspect for warping or grooving regularly.
- Tighten rotor bolts to prevent wobbling.
- Clean rotors every 3-6 weeks, or sooner if riding through mud or rain.
Why Disc Brake Cleaning Solutions Matter
Not all cleaning solutions are built equal! Isopropyl alcohol is a go-to option because it evaporates quickly and leaves no residue. Alternatively, opt for bike-specific cleaners to avoid unknowingly damaging brake components with harsher chemicals.
Using improper solutions, like household cleaners, risks leaving residues on the rotor, which can lead to noise, poor braking power, or even deterioration.
Maintaining Bike Brakes for Superior Performance
Cleaning your brakes isn’t the only aspect of maintenance:
- Regularly inspect the rotor bolts and brake fluid (on hydraulic brakes).
- Replace old pads every season—or sooner if visibly worn.
- Lubricate the rest of your bike, avoiding the rotors, so nothing drips into the braking system.
These extra steps enhance not just your braking efficiency but your entire cycling experience.
Conclusion
Cleaning your bicycle disc brakes regularly is critical for maintaining control, safety, and overall performance on the bike. Neglected brakes risk reduced stopping power, noise, and even dangerous wear or damage. Thankfully, with proper tools, safe cleaning practices, and a bit of effort, keeping your brakes in excellent condition is straightforward and rewarding.
So, next time your ride feels a little “off,” dive into these disc brake cleaning tips and know you’re one step closer to smoother, quieter, and safer adventures.
Call to Action
Have you tried cleaning your disc brakes before? Got any additional tips or hiccups to share? We’d love to hear about your experience! Drop your thoughts or questions in the comments below—let’s keep the cycling conversation rolling!
FAQs About Cleaning Bicycle Disc Brakes
1. Can I use dish soap to clean my disc brakes?
No. Dish soap leaves residues that contaminate the rotor and pads, compromising performance. Use isopropyl alcohol or bike-specific cleaners.
2. How often should I clean my disc brakes?
Every 3-6 weeks, or after riding in muddy, rainy, or dusty conditions.
3. What causes brake noise even after cleaning?
Noise could be due to glazing, misaligned pads, or oil contamination. Recheck alignment or lightly sand the pads to address the issue.
4. Are all brake cleaners safe for disc brakes?
No. Only use cleaners specified for bicycle disc brakes to avoid damaging rotors or pads.
5. Why is my rotor squeaky after I cleaned it?
Residual contamination or uneven wear might still be present. Wipe it down again with alcohol or recheck pad alignment.
6. Do I need to replace my brake pads after every cleaning?
No, unless the pads are severely contaminated, glazed, or worn thin.
7. Can touching the rotor affect performance?
Yes. Oils from your fingers can transfer to the rotor, reducing braking efficiency. Always handle rotors with clean gloves or a cloth.
8. What grit sandpaper is safe for brake pads?
Use fine-grit sandpaper, like 120-400, to avoid excessive removal of material.
9. Do I need lubricant for disc brakes?
No, never apply lubricant directly on any braking surfaces—it will ruin stopping power.
10. Can I ride immediately after cleaning my disc brakes?
Wait for all components to dry completely, then perform a brake test before hitting the road.


