Last Updated on October 1, 2023 by Vinson Lozano
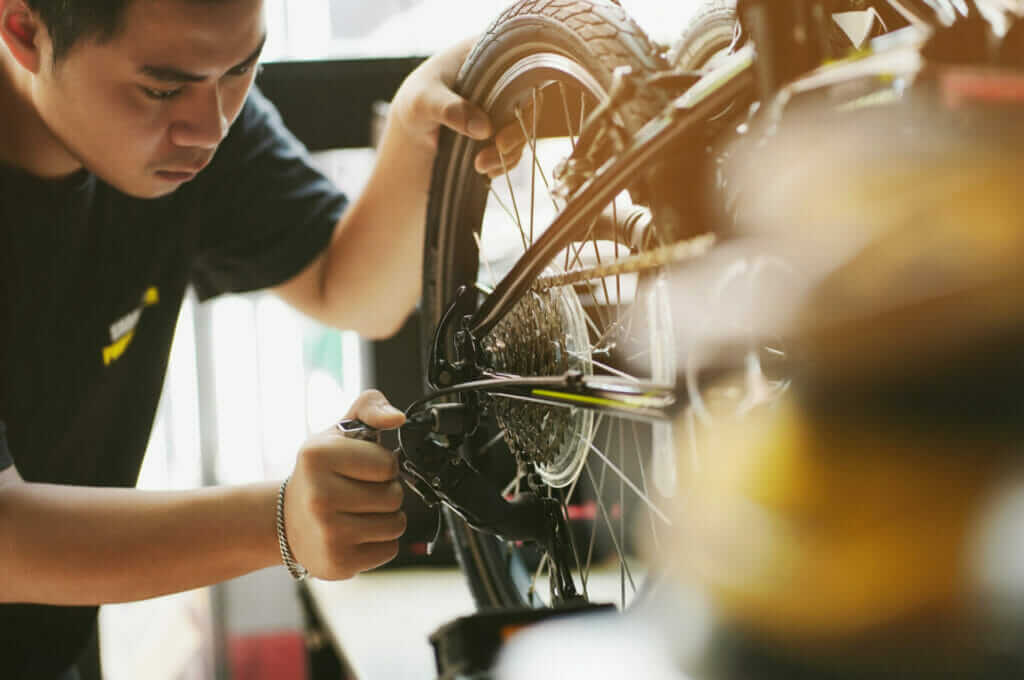
You’re out on a leisurely bike ride, enjoying the fresh air and the freedom of the open road, when suddenly you hear that dreaded hissing sound. Your bike tire has been punctured, and now you’re faced with a decision – is it worth patching the tube, or should you just replace it altogether?
In this blog article, we’ll dive into the age-old debate of whether it’s worth patching a bike tube. We’ll explore the pros and cons of both options, shedding light on the factors to consider when making this decision. From cost-effectiveness to time efficiency, we’ll weigh the benefits of patching a tube against the convenience of buying a new one.
Additionally, we’ll provide you with some handy tips on how to properly patch a bike tube, should you choose to go down that route. So, if you’ve ever found yourself pondering this common cycling conundrum, join us as we unravel the mysteries of whether it’s truly worth patching a bike tube. Get ready to make an informed decision that will keep you rolling smoothly on your future rides!
Why patching a bike tube is a common dilemma
There’s no hard and fast rule to it, as it mostly depends on certain factors like the damage size and type. For small punctures, patches are usually a quick, cost-effective solution compared to buying a brand-new tube. It not only saves you some bucks but also lets you become adept at bike maintenance.
However, let’s consider that your bike tube has suffered a major blowout or has multiple punctures, wouldn’t it be more sensible to replace the entire tube, rather than trying to apply multiple patches? Patching doesn’t guarantee a long-term solution and sometimes can make the tube weaker.
To sum it all up, deciding between patching and tube replacing is more of a situational yet personal decision. You should consider your own comfort, available resources, and the degree of damage to your bike tube. It is essentially a balance of cost, convenience, and practicality in the big picture!
Understanding Bike Tube Patches
Bike tubes don’t last forever. They do get punctured and once that happens you need to fix it. One way to fix it is by using a bike tube patch. There are many different ways that bike tubes can be patched and in this blog we’ll take a look at the different types of patches that you can use.
Types of patches available in the market
Many types of bike tube patches are available, ranging from traditional patches that require glue to the easy to use, peel-and-stick patches. The traditional patches demand some labor but offer a reliable, long-lasting fix on your tube. On the other hand, peel-and-stick patches are less labor-intensive, providing a quick, temporary fix, which makes them perfect for use in a pinch!
Pros and cons of using patches
Patching a bike tube can be a cost-effective, green solution in contrast to constantly buying new tubes. However, it’s not without its drawbacks. The process can be time-consuming, and not all patches hold up as well as others, especially for larger punctures.
Conversely, patches come in handy when you’re out on a ride and suffer a flat. They are light, easy to carry, and can get your bike back up and running in no time. So, whether patching a bike tube is worth it or not really depends on your specific needs and circumstances. It’s all about finding the right balance between short-term convenience and long-term reliability!
Assessing the damage to the bike tube
When deciding whether it’s worth patching a bike tube, you need to assess the extent of the damage. If the puncture is small and located in a relatively safe area, like the middle of the tube, it can be easily repaired with a patch. However, if the damage is severe, such as a large hole or a tear near the valve, it may be more practical to replace the tube entirely. Keep in mind that multiple or repeated punctures in the same area may weaken the tube, making it less reliable even after patching.
Cost comparison between patching and replacing the tube
Another factor to consider is the cost. Generally, patching a bike tube is a more affordable option than replacing it. Investing in a patch kit, which usually costs around $5 to $10, allows you to repair multiple punctures before needing to buy a new tube. On the other hand, buying a new tube can cost anywhere from $5 to $20, depending on the brand and quality. It’s important to weigh the cost of the patch kit against the potential savings of using the patched tube in the long run.
In conclusion, patching a bike tube can be a cost-effective solution if the damage is minimal and located in a safe area. It allows you to extend the life of the tube and save money. However, if the damage is severe or the tube has multiple punctures, it may be best to replace the tube altogether to ensure your safety while riding.
Step-by-Step Guide to Patching a Bike Tube
Gathering the necessary tools and materials
Before you begin patching your bike tube, make sure you have the following tools and materials:
- Patch kit: Look for a patch kit specifically designed for bike tubes. It usually includes patches, adhesive, and sandpaper.
- Tire lever: This tool is essential for removing the tire from the rim.
- Pump: You’ll need a pump to inflate the patched tube once you’re finished.
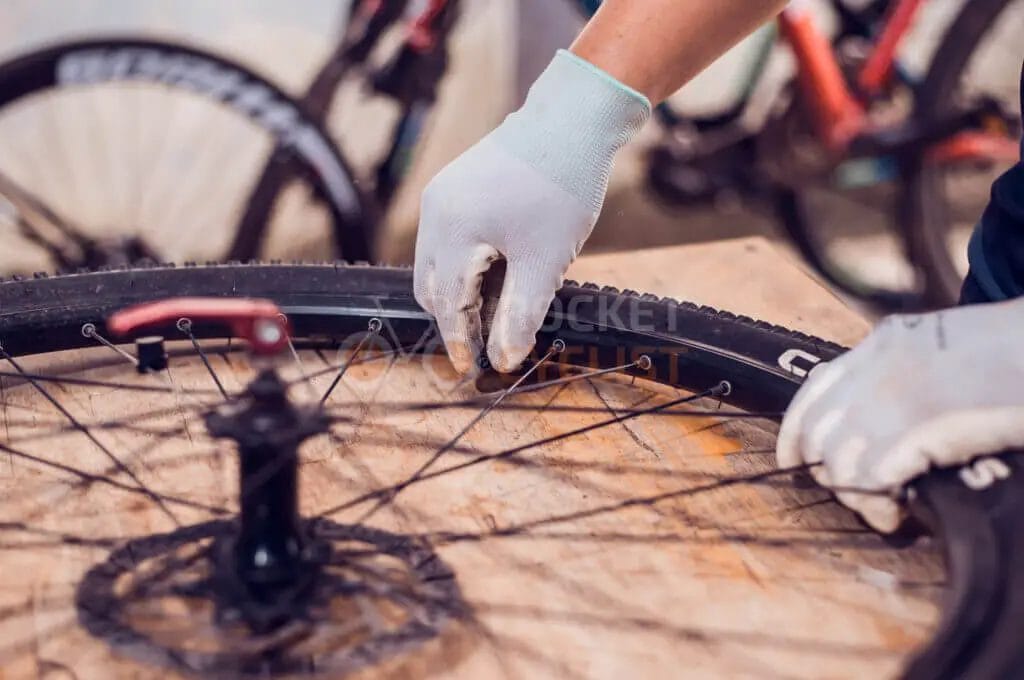
Locating the puncture and preparing the tube
To find the puncture, inflate the tube and feel for any escaping air. You can also submerge the tube in water and look for bubbles. Once you’ve found the puncture, use the sandpaper in your patch kit to roughen the area around it. This helps the adhesive bond better.
Make sure the tube is clean and dry before proceeding to the next step. Wipe away any dirt or moisture that may affect the patch’s effectiveness.
Applying the patch and ensuring a secure seal
Now it’s time to apply the patch. Peel off the protective backing and carefully place the patch over the puncture, ensuring that it covers the entire area. Press firmly and hold for a few minutes to allow the adhesive to bond properly.
Once the patch is secure, inspect it for any signs of air leakage. Inflate the tube slightly and listen for escaping air or spray soapy water over the patch and look for bubbles. If you notice any leaks, press down on the patch to create a stronger bond.
After you’ve patched the tube, reinsert it into the tire and carefully inflate it to the recommended pressure. Give it a final check to ensure a secure seal, and you’re ready to hit the road again.
Remember, patching a bike tube can save you time and money compared to replacing the tube altogether. With the right tools and a little patience, you can enjoy a smooth ride without worrying about punctures.
Benefits and Drawbacks of Patching
Advantages of patching a bike tube
Patching a bike tube can offer several benefits that make it worth considering:
- Cost-effective: Patching a tube is much cheaper than buying a new one. It allows you to extend the life of your tube and save money in the long run.
- Eco-friendly: Repairing your tube reduces waste and contributes to a more sustainable environment. By avoiding the disposal of a damaged tube, you are helping to reduce unnecessary landfill waste.
- Convenience: Patching a tube can be done at home or on the go with a patch kit. This means that you don’t have to rely on finding a bike shop or carrying a spare tube with you at all times.
Limitations and potential risks
However, there are also some limitations and potential risks associated with patching a bike tube:
- Temporary fix: While patches can provide a reliable fix, they are not as durable as a new tube. The patched area may be more vulnerable to additional punctures, which could require additional repairs.
- Skill and time required: Patching a tube requires some level of skill and patience. It may take time to locate the puncture and properly apply the patch, especially if you are not experienced in tube repairs.
- Risk of multiple punctures: If your tube has multiple punctures or damage in multiple areas, patching may not be the most effective solution. In such cases, replacing the tube entirely may be a better option.
In conclusion, patching a bike tube can be a cost-effective and eco-friendly solution for minor punctures. However, it is essential to consider the limitations and potential risks associated with patching and determine if it is the right choice for your specific situation.
When to Replace the Tube Instead
Instances where patching is not recommended
While patching a bike tube can be a cost-effective solution, there are certain instances where it is better to replace the tube altogether.
- Multiple punctures: If you have multiple punctures in the same tube, it may be more efficient to replace it rather than patch each individual hole. Patching multiple punctures can compromise the overall integrity of the tube, leading to a higher risk of further leaks.
- Age and wear: If your tube is old or showing signs of significant wear and tear, patching may not provide a long-term solution. Tubes naturally degrade over time and can become more prone to punctures. In such cases, it is advisable to replace the tube to ensure optimal safety and performance.
Signs that indicate the need for a new tube
There are several indicators that suggest it’s time to replace your bike tube instead of patching it.
- Visible damage: If the tube has visible cuts, tears, or holes that are too large to patch effectively, it is best to replace it. Patching large or irregularly shaped holes may not provide a reliable and secure fix.
- Repeated punctures: If you frequently experience punctures in the same area or spot, it may be a sign of underlying damage to the tube or tire. In such cases, replacing the tube is recommended to prevent further issues.
Remember, the decision to patch or replace a bike tube ultimately depends on the specific circumstance. Assess the extent and location of the damage, as well as the overall condition of the tube, to make an informed decision that prioritizes safety and performance
Step-by-step guide: How to patch a bike tube
Patching a bike tube can be a cost-effective solution to fixing a puncture and getting back on the road. Here are some key points to consider:
Is it worth patching a bike tube? Final thoughts and recommendations
- Cost savings: Patching a bike tube is considerably cheaper than buying a new one. A patch kit typically costs a fraction of the price of a replacement tube, saving you money in the long run.
- Environmentally friendly: Repairing rather than replacing a bike tube reduces waste and helps to minimize your carbon footprint. By patching your tube, you are making a sustainable choice.
- Convenience: Patching a bike tube can be done at home or on the go with a portable patch kit. It allows you to quickly and easily fix a puncture without having to rely on a bike shop or purchasing a new tube.
Common misconceptions about patching bike tubes
- Unreliable: Some people believe that patched tubes are less dependable than new ones. However, when properly applied, patches can provide a reliable and long-lasting repair, allowing you to ride with confidence.
- Time-consuming: While patching a tube does require some time and effort, it can be a straightforward process with practice. As you become more familiar with the process, it typically becomes quicker and easier.
In conclusion, whether it’s for the cost savings, environmental benefits, or convenience, patching a bike tube can be well worth it. By following a simple step-by-step process and challenging common misconceptions, you can confidently repair your tube and continue enjoying your cycling adventures.