Last Updated on October 19, 2024 by Vinson Lozano

If you’ve recently installed a new bicycle chain and noticed an annoying clicking noise, you’re not alone. Many cyclists experience this issue, which can stem from various factors related to bicycle drivetrain issues, bike chain alignment problems, or insufficient lubrication. Understanding these aspects can help you maintain your bike effectively, ensuring smooth rides without distracting sounds.
Key Takeaways
- A clicking noise from a new bicycle chain is often due to misalignment or lubrication issues.
- Regular bicycle chain maintenance is crucial for longevity and performance.
- Proper bike gear shifting techniques can reduce chain noise.
- Addressing bicycle drivetrain issues promptly can prevent more serious problems.
- Simple adjustments and lubrication can fix most clicking sounds.
- Always ensure bike chain alignment to avoid unnecessary noise during rides.
Understanding New Bicycle Chain Clicking Noise
When you hear a clicking noise from your new bicycle chain, it can be frustrating and concerning. The sound usually indicates there is something amiss in your bicycle’s drivetrain. Several factors contribute to chain noise, including improper installation, misalignment, or neglecting regular maintenance practices.
Common Causes of Clicking Noise
1. Improper Installation
After replacing your bicycle chain, double-check that it’s installed correctly. An incorrectly installed chain can misalign the gears, leading to that irritating clicking sound. Ensure all components, such as the derailleur and chainring, are adjusted correctly.
2. Bike Chain Alignment Problems
Chain alignment is crucial for a smooth ride. If your chain is not aligned with your gears properly, it can create friction, causing noise. Inspect your derailleur and ensure it’s functioning properly. Sometimes, simple adjustments can fix these alignment issues.
3. Bicycle Drivetrain Issues
Other components of your bicycle’s drivetrain could be causing the clicking sound. Check the gears, cassette, and chainring for wear or damage. These elements can create unnecessary noise if they’re not in optimal condition.
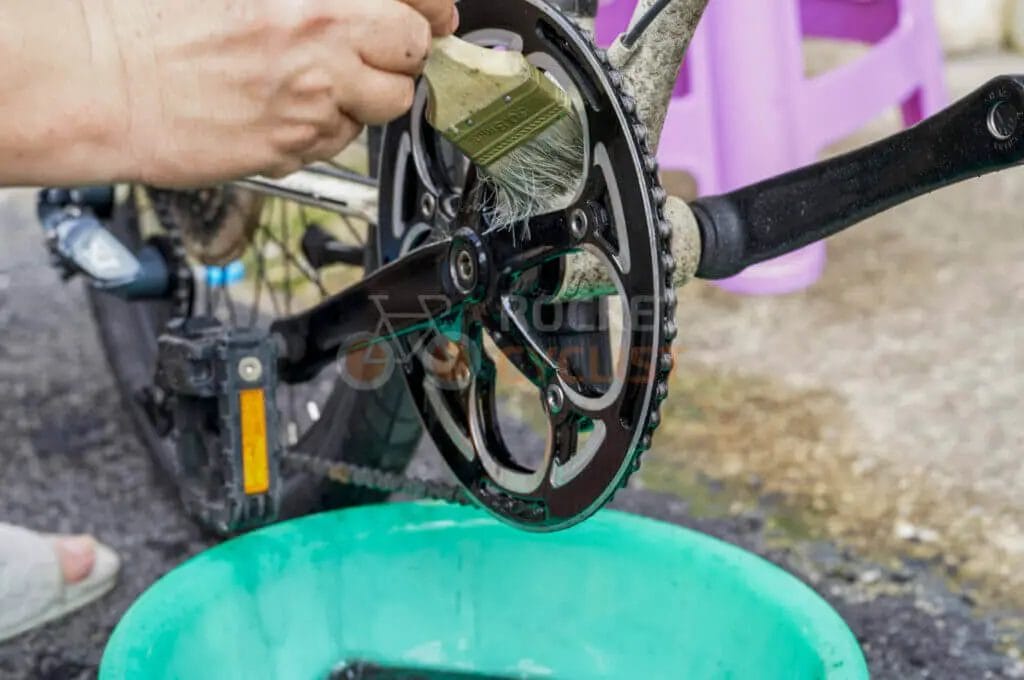
Maintenance Tips to Prevent Clicking Noises
To reduce the likelihood of encountering a clicking noise, proactive bicycle chain maintenance is essential. Below are practical tips every cyclist should follow:
1. Regular Lubrication
A well-lubricated bike chain is less prone to noise. Apply a suitable chain lubricant regularly, particularly before long rides. Aim to clean the chain and reapply lubricant every few weeks or after rides in wet conditions.
2. Chain Inspection
Frequently inspect your chain for any signs of wear. Look for stiff links, rust, or other damage that may contribute to noise. A damaged bicycle chain often leads to bike gear shifting issues, making it vital to replace if necessary.
3. Proper Gear Shifting Techniques
Learn to shift gears smoothly without putting excessive pressure on the chain. Sudden shifts may cause additional stress and noise, leading to long-term damage. Practice shifting gradually, especially under load.
Troubleshooting Noisy Bike Chain Issues
If you’re dealing with a noisy bike chain, follow these troubleshooting steps to identify the source of the problem.
1. Check Chain Length
An excessively long or short chain can create alignment problems. Ensure your new bicycle chain is of the correct length. You can use a chain length calculator or consult your bike’s manual for specifications.
2. Inspect Cassette and Chainring
Examine these components for wear. A noisy bike chain often indicates that the cassette or chainrings may need to be replaced. Look for any signs of damage like missing teeth or bent parts.
3. Adjust Derailleur Settings
If you’re experiencing shifting issues, it may be time to adjust your derailleur settings. Misalignment can lead to poor chain movement and excessive noise. Follow your manufacturer’s guidelines to make the necessary adjustments.
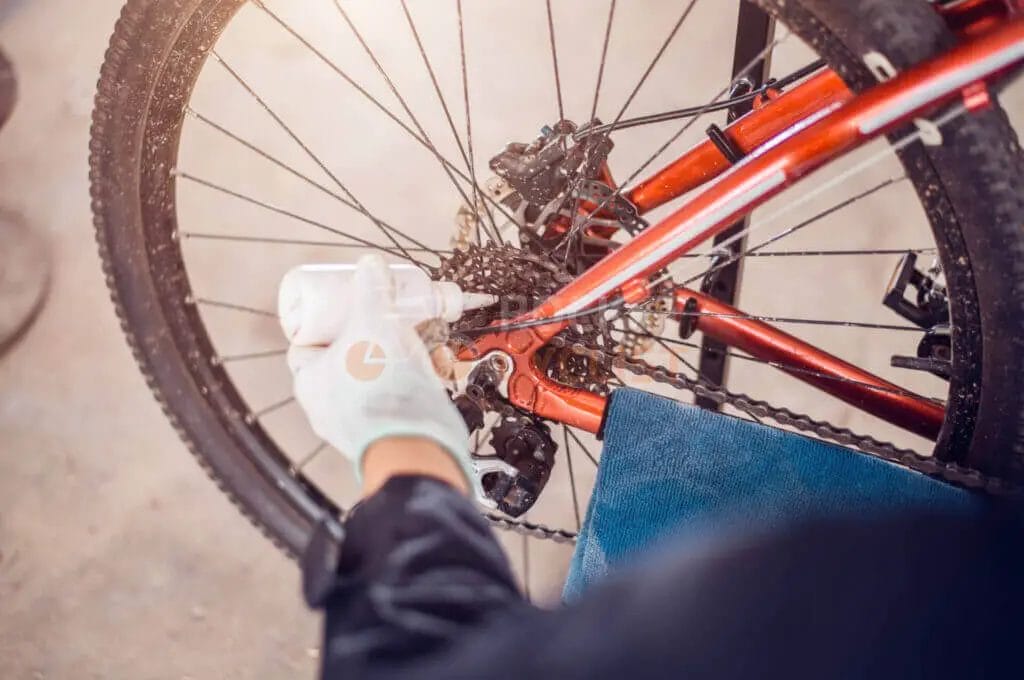
How to Silence Bike Chain Noise
Here are additional techniques to silence bike chain noise effectively:
1. Clean the Chain Regularly
Dirt and debris can collect on your chain, leading to noise. Regularly clean the chain with a degreaser to maintain optimal performance.
2. Tension Adjustment
Check the tension on your chain; it should be neither too loose nor too tight. Adjust as necessary to eliminate clicking sounds caused by excessive tension.
3. Consider Chain Replacement
If you’ve tried everything but the clicking persists, it may be time to replace your bicycle chain. A worn-out chain can create ongoing issues across your drivetrain, so replacing it can save you future headaches.
Conclusion
In summary, addressing a new bicycle chain clicking noise involves understanding the common causes and taking proactive steps in bicycle chain maintenance. Whether it’s checking for alignment problems, ensuring proper lubrication, or adjusting your bike’s components, these strategies can help you enjoy a quieter ride. Don’t hesitate to take on these tasks; your bike will thank you for it!
Feel free to share your experiences or questions about bicycle chain clicking noises. Engaging with the cycling community can lead to valuable insights and solutions.
Frequently Asked Questions (FAQs)
- What causes a clicking noise after replacing a bicycle chain?
- A clicking noise can be due to improper installation, misalignment, or lubrication issues.
- How can I decrease bicycle chain noise?
- Regular lubrication, cleaning, and proper gear shifting techniques can significantly reduce noise.
- Can a noisy bike chain affect performance?
- Yes, a noisy chain often indicates drivetrain issues, which can impact overall performance.
- When should I replace my bike chain?
- Consider replacing your bike chain if it shows signs of wear or if cleaning and lubricating fail to resolve the noise.
- How do I check if my chain is the right length?
- Refer to your bike’s manual or use a chain length calculator for proper specifications.
- Is it safe to ride a bike with a noisy chain?
- While you can ride with a noisy chain, it may lead to further damage if not addressed promptly.
- What type of lubricant should I use on my bike chain?
- Use a lubricant specifically designed for bicycle chains, ensuring it’s appropriate for your riding conditions.
- Can I repair my bike chain instead of replacing it?
- Minor repairs may be possible, but a severely damaged chain should be replaced for safety.
- How often should I lubricate my bike chain?
- Lubricate your bike chain approximately every 100 miles or after rides in wet weather.
- What are the signs of a worn-out bike chain?
- Signs include rust, stiffness in links, and increased noise during operation.