Last Updated on May 19, 2024 by Vinson Lozano
Importance of Brake Maintenance for Cyclists

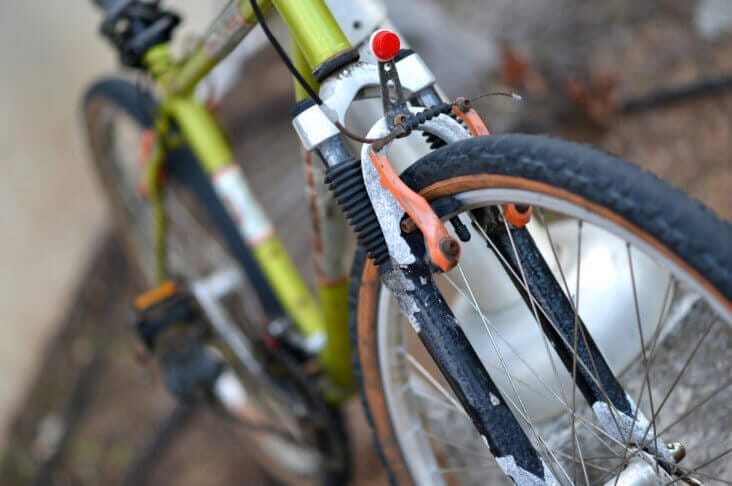
When it comes to cycling, your safety should always be a top priority. That’s why it’s crucial to prioritize brake maintenance. Regularly checking and maintaining your brakes ensures that they perform optimally, giving you the peace of mind and confidence to ride with ease. Neglecting brake maintenance can lead to worn-out brake pads, reduced braking power, and even brake failure, putting you at risk of accidents. By keeping your brake system in excellent condition, you can prevent unnecessary accidents and injuries. So don’t let rusty brakes slow you down! Take the time to clean, lubricate, adjust, inspect, and replace brake components as needed for a smooth and safe cycling experience.
Why maintaining brakes is crucial for cyclists
Maintaining your brakes is crucial for cyclists like you because it ensures your safety on the road. Your brakes are your lifeline when it comes to stopping and avoiding accidents. Regular brake maintenance keeps your braking system in top shape, giving you confidence and peace of mind on your rides. Ignoring brake maintenance can lead to worn-out brake pads, which can compromise your ability to stop quickly and reliably. This increases the risk of accidents and injuries. By taking the time to clean, lubricate, adjust, inspect, and replace brake components as needed, you can prevent brake failure and ensure optimal braking performance. Don’t underestimate the importance of brake maintenance – it can make all the difference in your cycling experience.
Signs of worn-out brake pads
When it comes to maintaining your brakes, recognizing the signs of worn-out brake pads is essential. Pay attention to these indicators so you can take action promptly. Listen for squealing or squeaking noises when you apply your brakes – this can be a sign that your brake pads are worn and need to be replaced. Another indication is reduced braking performance. If you notice that your bike takes longer to come to a complete stop or if you have to squeeze the brake lever harder than usual, it’s time to check your brake pads. Additionally, inspect your brake pads for thinning or uneven wear. Being proactive and replacing worn-out brake pads will keep you safe and ensure optimal braking performance.
How to Clean and Lubricate Brake Systems
To keep your brake systems in optimal condition, regular cleaning and lubrication are essential. Here’s how you can do it:
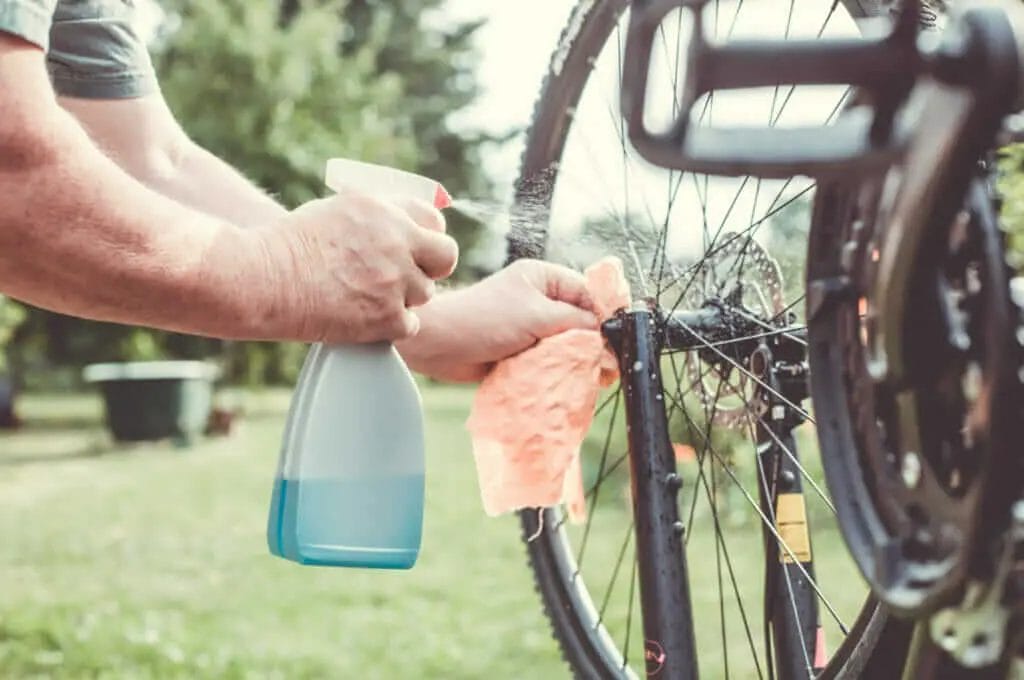
- Start by cleaning the brake calipers. Use a clean cloth or a soft brush to remove any dirt or debris that may have accumulated. Pay attention to the brake pads and ensure they are free from any foreign objects.
- Next, choose a suitable lubricant for your brake cables. Apply a small amount of lubricant to a clean cloth and gently rub it along the length of the cable. Be careful not to apply too much, as excess lubricant can attract dirt and affect brake performance.
- It’s also crucial to inspect and clean the brake levers. Wipe away any dirt or grime and ensure they move smoothly. If you notice any stiffness or resistance, it may indicate the need for further cleaning or maintenance.
Remember to check your manufacturer’s guidelines for specific instructions on cleaning and lubricating your brake systems. Regular maintenance will not only prolong the life of your brakes but also ensure consistent and reliable stopping power.
Step-by-step guide to cleaning brake calipers
To keep your brake calipers clean and functioning smoothly, follow this step-by-step guide:
- Start by gathering the necessary tools: a clean cloth or soft brush, brake cleaner spray, and a small container for holding any removed parts.
- Remove the wheel from the bicycle to access the brake caliper. Carefully inspect the caliper for excessive dirt or buildup.
- Use the cloth or brush to gently remove any dirt or debris from the caliper, paying close attention to the brake pads and pistons. Be thorough but gentle to avoid damaging any components.
- If the caliper is extremely dirty or has sticky residue, use a brake cleaner spray to dissolve and remove the grime. Spray the cleaner onto the affected areas and let it sit for a few minutes before wiping it away.
- Once the caliper is clean, visually inspect the brake pads and pistons for any signs of wear or damage. Replace any worn or damaged parts according to your manufacturer’s guidelines.
By following these steps regularly, you can ensure optimal brake performance and prolong the life of your braking system.
Choosing the right lubricant for brake cables
To ensure optimal performance and longevity of your brake cables, it’s important to choose the right lubricant. You should look for a lubricant specifically designed for bicycle brake cables. Avoid using generic lubricants like WD-40, as they can attract dirt and grime, causing more harm than good. Instead, opt for a high-quality silicone-based lubricant or a dry lubricant that won’t attract dust and debris. Apply the lubricant sparingly to the exposed sections of the brake cables, avoiding contact with any braking surfaces. Remember to wipe off any excess lubricant to prevent it from accumulating and causing issues with your braking system.
Adjusting Brake Tension and Position
Understanding brake lever adjustment
To ensure optimal braking performance, it’s essential to adjust the tension and position of your brake levers. Start by locating the barrel adjuster on your brake lever. Turn it clockwise to increase tension and counterclockwise to decrease tension. Test the brake lever after each adjustment, aiming for a firm and responsive feel. Don’t forget to check that the brake lever position is comfortable for your hand size and riding style. A properly adjusted brake lever will allow for quick and efficient braking, enhancing your safety on the road or trail. Take the time to experiment and find the perfect balance that suits your needs.
Proper alignment of brake pads
To ensure proper braking performance, it’s crucial to have your brake pads aligned correctly. Improper alignment can result in uneven brake pad wear and reduced stopping power. Start by inspecting the alignment of your brake pads. They should be centered over the rotor and positioned parallel to it. If you notice any misalignment, use a hex wrench to loosen the brake pad mounting bolt. Adjust the position of the brake pad until it aligns properly with the rotor. Once aligned, tighten the mounting bolt securely. Remember to repeat this process for both brake pads. Proper alignment of the brake pads will ensure efficient and reliable braking when you need it most.
Inspecting and Replacing Brake Cables
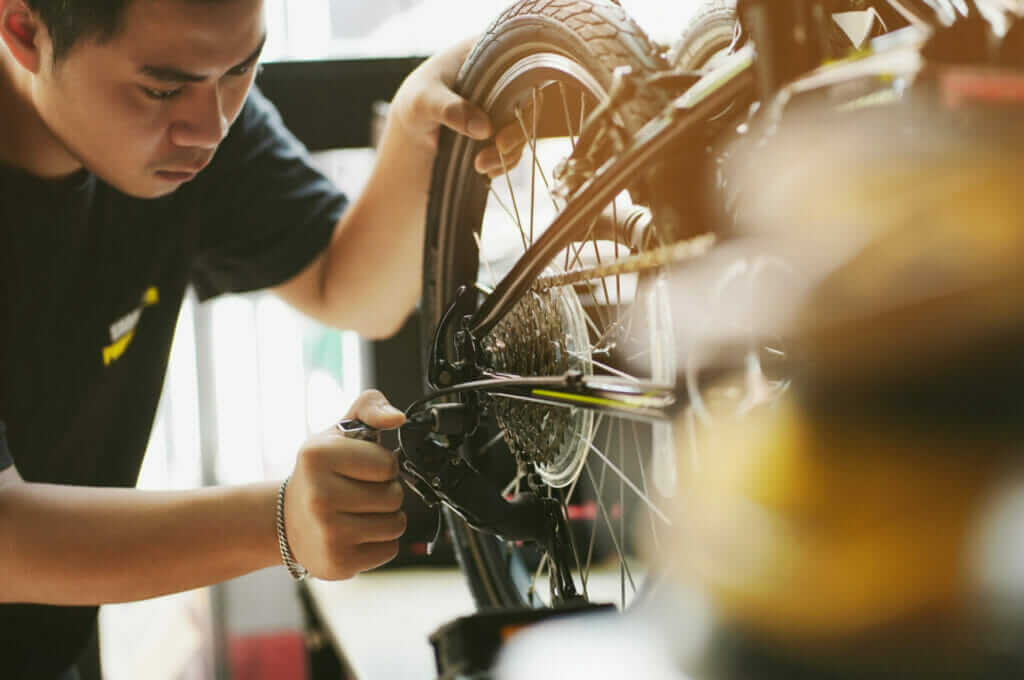
When it comes to ensuring your brakes are in top shape, inspecting and replacing brake cables is a crucial step. Start by checking for any signs of fraying or corrosion on the cables. They should be smooth and free from any damage. If you notice any issues, it’s time to replace them. First, loosen the cable anchor bolt and disconnect the cable from the brake caliper or lever. Then, remove the old cable by threading it out of the housing. Install the new cable by threading it through the housing and reattach it to the caliper or lever. Finally, adjust the cable tension and test the brakes to ensure they’re working properly. Regularly inspecting and replacing brake cables will help maintain reliable braking performance on your bike.
Checking for fraying and corrosion in brake cables
To ensure your brakes are in top shape, it’s important to regularly check for fraying and corrosion in your brake cables. Start by examining the cables for any signs of wear or damage. If you notice any fraying, where the individual strands of the cable are unraveling, or if you see any corrosion on the surface of the cable, it’s time to replace them. Frayed or corroded cables can compromise the performance and reliability of your brakes, putting your safety at risk. By inspecting your brake cables regularly and replacing them when necessary, you can maintain optimal braking performance and enjoy a safer cycling experience.
Step-by-step process for replacing brake cables
To replace your brake cables, you’ll need a few tools: a set of Allen wrenches, cable cutters, pliers, and new brake cables. Here’s a step-by-step guide to help you out:
- Start by releasing the tension on the brake cable. Loosen the cable pinch bolt on the brake caliper and remove the cable from the cable clamp.
- Next, remove the old brake cable from the brake lever. Unscrew the cable anchor bolt and slide the cable out of the lever.
- Using cable cutters, trim the new brake cable to the appropriate length, leaving a little extra for adjustments.
- Thread the new brake cable through the housing, starting from the brake lever. Make sure it runs smoothly through the housing without any kinks or bends.
- Attach the cable to the brake lever by inserting it through the lever and tightening the anchor bolt.
- Thread the other end of the cable through the cable clamp on the brake caliper and secure it with the cable pinch bolt. Adjust the tension by pulling the cable tight and tightening the pinch bolt.
- Test the brakes to ensure they engage and release smoothly. Adjust the tension as needed until you achieve the desired braking performance.
Remember, if you’re unsure about any step or encounter any difficulties, it’s always a good idea to consult a professional bike mechanic for assistance.
Upgrading Brake Systems for Enhanced Performance
Benefits of upgrading to high-performance brake pads include improved stopping power and better modulation, allowing you to have greater control over your bike’s speed. Upgraded brake pads are designed to provide increased friction and heat dissipation, resulting in shorter stopping distances and enhanced durability. When choosing high-performance brake pads, consider factors such as your riding style and terrain to ensure optimal performance. Additionally, upgrading your brake calipers can further enhance your braking system’s performance. High-end calipers offer better leverage and precision, translating to improved braking efficiency. Remember to consult with a professional bike mechanic to ensure compatibility and proper installation for optimal results. Upgrading your brake system can significantly enhance your safety and confidence while cycling.
Benefits of upgrading to high-performance brake pads
Upgrading to high-performance brake pads offers a range of benefits for your cycling experience. You’ll enjoy improved stopping power that allows you to feel more in control of your bike’s speed. These upgraded pads provide increased friction and heat dissipation, resulting in shorter stopping distances and enhanced durability. With better modulation, you can adjust your braking force with greater precision, especially during critical moments. The enhanced performance of high-performance brake pads gives you confidence and peace of mind, knowing that you can rely on your brakes when you need them most. Upgrade your brake pads and experience the difference in your cycling performance.
Considerations for upgrading brake calipers
Considerations for upgrading brake calipers:
- Compatibility: Before upgrading your brake calipers, make sure they are compatible with your bike’s frame and fork. Check the mounting style and spacing to ensure a proper fit.
- Weight: Upgrading to lighter brake calipers can reduce the overall weight of your bike, resulting in improved performance and faster acceleration.
- Material: Consider the material of the brake calipers. High-quality materials like aluminum or carbon fiber can offer improved stiffness, durability, and heat dissipation.
- Braking power: Look for calipers that provide increased braking power and responsiveness. Opt for models with multiple pistons for better modulation and control.
- Budget: Determine your budget for upgrading brake calipers. While higher-end options may offer superior performance, there are also mid-range options that provide significant improvements without breaking the bank.
When considering upgrading your brake calipers, take these factors into account to ensure you choose the right ones for your cycling needs.
Conclusion
Conclusion:
Now that you have learned about the importance of brake maintenance for cyclists and the various tips and techniques to keep your brakes in optimal condition, you can ride with confidence and peace of mind. Regularly inspecting and cleaning your brake systems, adjusting tension and position, and replacing worn-out components will ensure consistent and reliable braking performance. Additionally, consider upgrading your brake systems to enhance your cycling experience, with high-performance brake pads and calipers offering improved braking power and responsiveness. Remember, a well-maintained brake system is essential for your safety on the road or trail. So, don’t let rusty brakes slow you down – stay proactive with your brake maintenance and enjoy a smoother and safer ride!
Recap of brake maintenance tips for cyclists
Regular brake maintenance is essential for your safety and riding experience. Here’s a quick recap of the tips:
- Clean and lubricate your brake systems regularly to remove dirt and ensure smooth operation.
- Inspect your brake pads for wear and replace them if they are thin or damaged.
- Adjust brake tension and position to ensure optimal braking power and responsiveness.
- Check your brake cables for fraying or corrosion and replace them if necessary.
- Consider upgrading to high-performance brake pads and calipers for enhanced braking performance.
By following these maintenance tips, you can prevent rust, improve braking performance, and enjoy a safer and more enjoyable ride. Remember, it’s always better to be proactive with your brake maintenance rather than waiting for problems to occur.
Common myths about brake maintenance debunked
- Myth 1: “I don’t need to clean my brakes often.”
Debunked: Regular cleaning is crucial to prevent buildup of dirt and debris, which can compromise your braking performance and lead to premature wear of brake pads.
- Myth 2: “Changing brake pads is unnecessary unless they’re completely worn out.”
Debunked: It’s essential to replace worn brake pads promptly, as thin pads can reduce braking efficiency and potentially damage the rotor.
- Myth 3: “Brake cables don’t need to be checked or replaced.”
Debunked: Brake cables can fray or corrode over time, affecting their strength and responsiveness. Regular inspection and replacement, when necessary, is vital for optimal brake function.
- Myth 4: “Any brake pad will work fine.”
Debunked: Upgrading to high-performance brake pads can significantly improve stopping power, especially in wet or challenging conditions.
Don’t let these myths lead to poor brake maintenance. By debunking them, you can ensure your brakes are in top-notch condition for a safer and more enjoyable cycling experience.


