Last Updated on March 23, 2024 by Vinson Lozano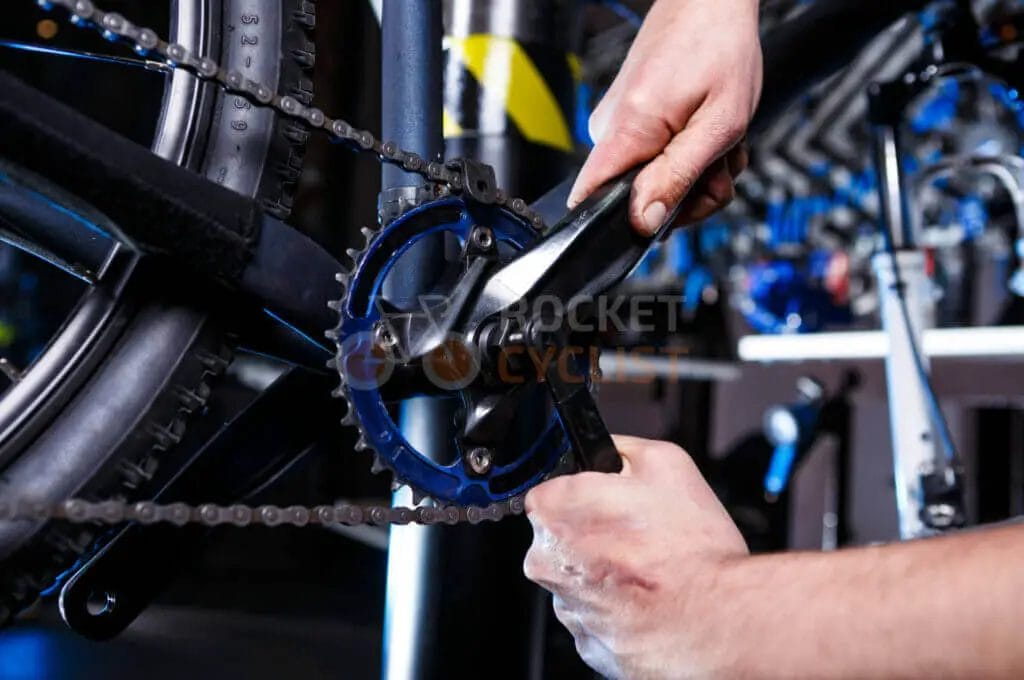
Introduction to Bicycle Bottom Bracket Issues
When it comes to your bicycle’s bottom bracket, you may encounter some issues that can affect its performance and overall riding experience. Understanding these issues and how to fix them is crucial for maintaining a smooth and efficient ride.
Whether it’s a loose, noisy, or seized bottom bracket, each problem requires specific attention to ensure the proper functioning of your bike. A properly working bottom bracket is essential for smooth pedaling and power transfer.
In this article, we will explore common problems with bicycle bottom brackets and provide step-by-step solutions for fixing them. We will also discuss the importance of regular maintenance and care to extend the lifespan of your bottom bracket. So let’s dive in and troubleshoot those pesky bottom bracket issues together!
Common problems with bicycle bottom brackets
Common problems with bicycle bottom brackets can include issues such as a loose bottom bracket, a noisy bottom bracket, or a seized bottom bracket. A loose bottom bracket can result in a wobbly and unstable ride. A noisy bottom bracket can be caused by loose or worn-out bearings, leading to annoying creaking or clicking sounds while pedaling. A seized bottom bracket occurs when the bearings become stuck or frozen, making it difficult to pedal smoothly. These problems can affect the overall performance and efficiency of your bike. Fortunately, with proper diagnosis and maintenance, these issues can usually be resolved without too much trouble.
Importance of properly functioning bottom brackets
A properly functioning bottom bracket is vital for the overall performance and efficiency of your bicycle. It serves as the connection between the crankset and the frame, allowing smooth rotation and power transfer while pedaling. If the bottom bracket is loose, it can result in an unstable ride, making it difficult to control your bike. A noisy bottom bracket can be distracting and annoying, affecting your comfort and enjoyment during rides. A seized bottom bracket can significantly hinder your ability to pedal smoothly, causing unnecessary strain on your legs. By ensuring that your bottom bracket is in good condition and addressing any issues promptly, you can maintain a more enjoyable and safe riding experience.
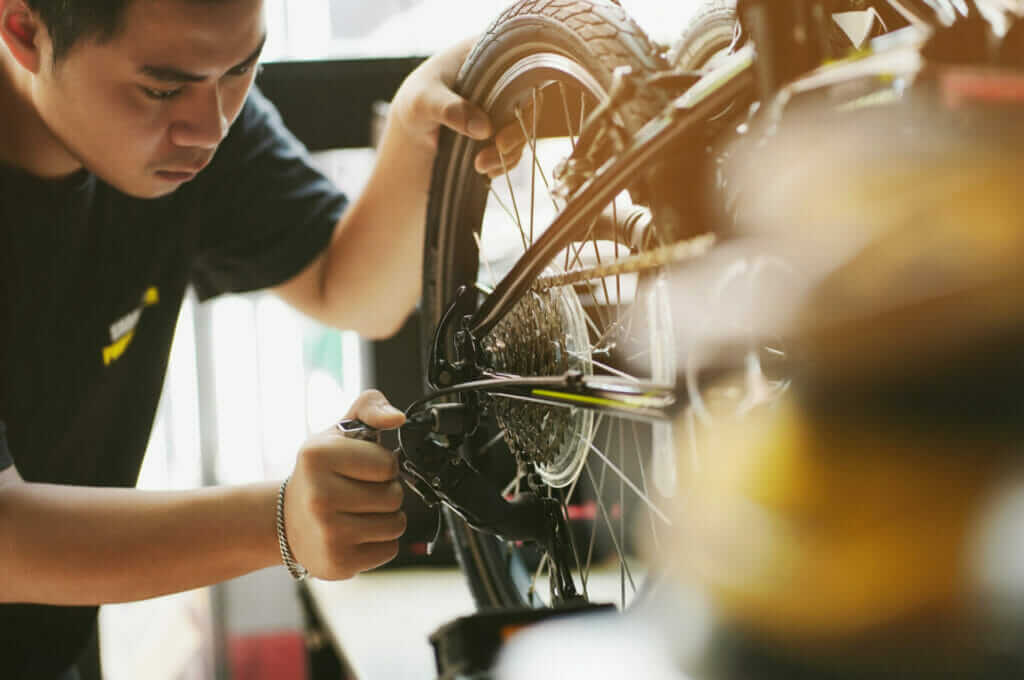
Identifying Bicycle Bottom Bracket Issues
When it comes to identifying bicycle bottom bracket issues, there are a few signs you can look out for. Firstly, if you notice any unusual clicking, creaking, or grinding noises coming from your bike’s crank area, it could be indicative of a problem with the bottom bracket. Additionally, if you feel excessive resistance or play in the pedals while pedaling, it may be a sign of a damaged or worn-out bottom bracket. To accurately diagnose these issues, you’ll need a few essential tools like a crank puller and a bottom bracket tool that matches your specific bottom bracket type. By being attentive to these signs and having the necessary tools on hand, you’ll be able to effectively address any potential problems with your bicycle’s bottom bracket.
Signs of a damaged bottom bracket
There are several signs that can indicate a damaged bottom bracket on your bicycle. One of the most common signs is unusual clicking, creaking, or grinding noises coming from the crank area while pedaling. You may also feel excessive resistance or play in the pedals, which can make it difficult to pedal smoothly. Another sign is if you notice any looseness or wobbling in the crank arm when you try to move it. If you experience any of these issues, it’s important to address them promptly to prevent further damage and ensure safe riding.
Tools required for diagnosing bottom bracket issues
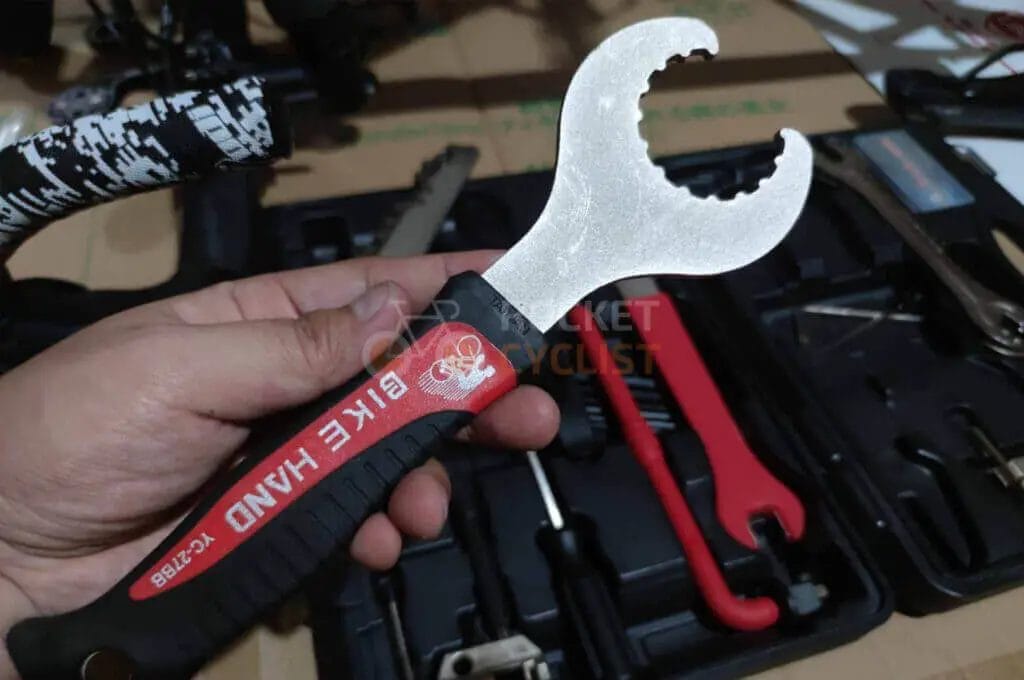
When diagnosing bottom bracket issues on your bicycle, it is important to have the right tools on hand. Here are some essential tools you will need:
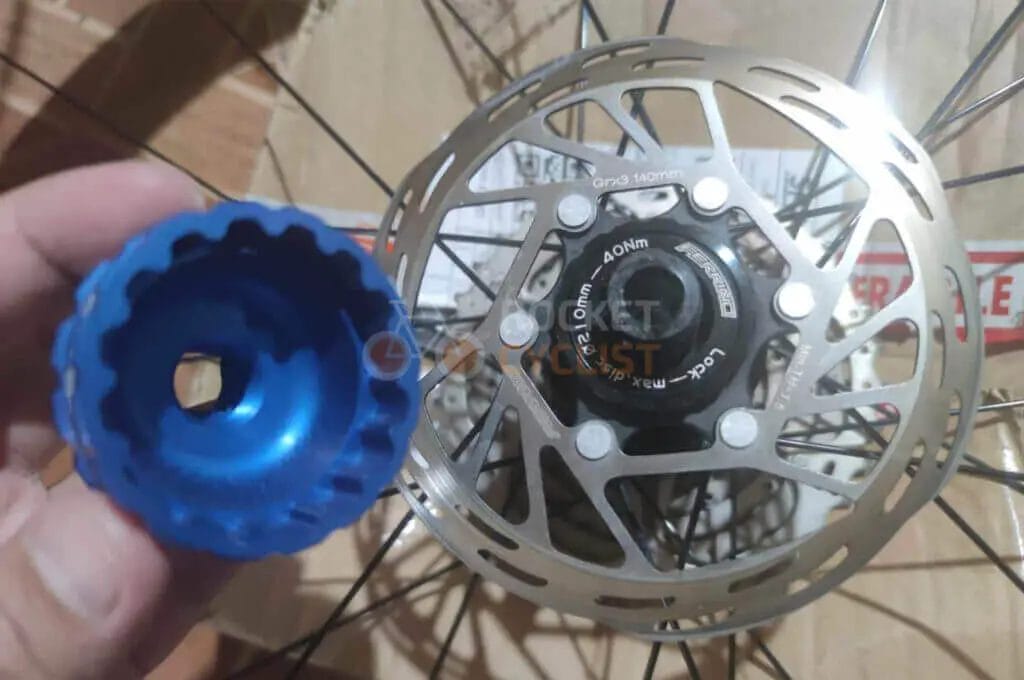
- Bottom bracket tool: This tool is used to remove and install the bottom bracket cups or bearings.
- Crank puller: A crank puller is necessary for removing the crank arms from the bottom bracket spindle.
- Adjustable wrench or socket set: These tools are used to loosen and tighten the bottom bracket lockring or cup.
- Allen wrenches: Depending on your specific bike, you may need allen wrenches of various sizes to remove and install bolts on the bottom bracket assembly.
- Chain whip: If your bike has a cassette system, a chain whip is needed to hold the cassette in place while removing the lockring.
Having these tools readily available will allow you to accurately diagnose and address any issues with your bicycle’s bottom bracket.
Fixing Loose Bottom Bracket
A loose bottom bracket can cause a number of issues, including creaking sounds and decreased power transfer. To fix a loose bottom bracket, you will need to tighten it properly. Start by removing the crank arms using a crank puller tool. Once the crank arms are removed, use a bottom bracket tool to loosen the lockring or cup. Use an adjustable wrench or socket set to tighten the lockring or cup until it is snug. Reinstall the crank arms and make sure they are secure. Finally, test the bottom bracket by applying pressure to ensure it no longer moves or makes any noise. Regularly check your bottom bracket for tightness as part of your bicycle maintenance routine to prevent future issues.
Causes of a loose bottom bracket
A loose bottom bracket can be caused by a few different factors. One common cause is improper installation or insufficient tightening during assembly. If the bottom bracket was not tightened enough, it can gradually loosen over time with regular use. Another possible cause is worn or damaged bearings within the bottom bracket. Over time, these bearings can develop play and cause the bottom bracket to feel loose. Additionally, if the bottom bracket shell on your bike frame has been damaged or worn out, it can lead to a loose bottom bracket. Regular inspection and maintenance of your bike’s bottom bracket can help prevent these issues from occurring.
Step-by-step guide to tightening a loose bottom bracket
To tighten a loose bottom bracket, you will need a few tools: a bottom bracket wrench, a torque wrench (optional), and some grease. Here’s how to do it:
- Start by removing the crank arms using the appropriate tool.
- Use the bottom bracket wrench to loosen the lockring and adjust the cup on both sides.
- Grease the threads of the bottom bracket cup.
- Begin tightening the cups evenly, alternating between the drive side and non-drive side.
- Check for any play or movement in the bottom bracket. If there is, continue tightening until it feels secure.
- Use a torque wrench if available to ensure proper tightening torque.
- Reinstall the crank arms and check for any issues or noises.
Remember to consult your bike’s manufacturer or a professional mechanic if you are unsure or encounter any difficulties during this process.
Fixing Noisy Bottom Bracket
Fixing a noisy bottom bracket is essential for a smooth and enjoyable ride. If you are experiencing a rattling, creaking, or clicking sound coming from your bottom bracket area, it’s time to address the issue. The most common reasons for a noisy bottom bracket include loose parts, worn bearings, or insufficient lubrication. To eliminate the noise, start by checking for any loose bolts or components around the bottom bracket. Tighten them if needed. Next, inspect and replace any worn out bearings. Lastly, apply appropriate grease or lubricant to ensure that all moving parts are well-lubricated. By following these steps and maintaining regular maintenance, you can enjoy a noise-free bottom bracket and a quiet ride.
Reasons for a noisy bottom bracket
A noisy bottom bracket can be quite annoying and disrupt your cycling experience. There are several reasons why your bottom bracket might be making noise. One common reason is loose or worn out bearings. Over time, the bearings in the bottom bracket can become worn or damaged, causing them to create a creaking or clicking sound. Another cause could be insufficient lubrication. Without proper lubrication, the moving parts of the bottom bracket can rub against each other, resulting in noise. Additionally, a misaligned or improperly installed bottom bracket can also contribute to noise issues. Identifying the specific cause of the noise is crucial in order to effectively eliminate it.
How to eliminate noise in a bottom bracket
To eliminate noise in a bottom bracket, you first need to identify the cause of the noise. Start by checking if the bearings are loose or worn out. If so, you will need to replace them with new ones. Next, ensure that the bottom bracket is properly lubricated. Apply a generous amount of grease to the bearings and any other moving parts. Tighten all bolts and screws to prevent any loose components from causing noise. If the noise persists, it may be due to a misaligned or improperly installed bottom bracket. In this case, consult a professional mechanic to properly align and install the bottom bracket for you.
Fixing Seized Bottom Bracket
Fixing a seized bottom bracket is crucial to ensure smooth and efficient cycling. A seized bottom bracket can occur due to rust or lack of lubrication in the bearings, making it difficult for them to rotate freely. To fix this issue, you will first need to remove the bottom bracket from the bicycle frame. Apply penetrating oil or rust dissolver to the affected areas and leave it for some time to loosen up the rust. Once loosened, use a wrench or a specialized bottom bracket tool to slowly turn and free the stuck bottom bracket. Clean off any remaining residue or rust and apply grease before reinstalling the bottom bracket. Regular cleaning, lubrication, and inspection of your bottom bracket will help prevent future seizing issues.
Causes of a seized bottom bracket
A seized bottom bracket can be caused by a few factors. One common cause is rust and corrosion due to exposure to water or moisture. When water seeps into the bottom bracket, it can cause the bearings to rust and seize up. Another possible cause is lack of lubrication. Over time, without proper lubrication, the bearings can become dry and start to bind, leading to a seized bottom bracket. Additionally, dirt, debris, or excessive wear can also contribute to a seized bottom bracket. Regular maintenance and care are vital in preventing these issues and ensuring the smooth operation of your bike’s bottom bracket.
Techniques for freeing a seized bottom bracket
To free a seized bottom bracket, you can try a few techniques. First, you can apply penetrating oil or a rust dissolver to the affected area. Allow the solution to soak for a few hours or overnight to help loosen the rust and corrosion. Next, use a large adjustable wrench or a specialized bottom bracket tool to attempt to rotate the bottom bracket in both directions. Apply firm and steady pressure while turning, being cautious not to apply excessive force that could damage the threads or surrounding components. If the bottom bracket still won’t budge, you may need to resort to using heat by carefully heating the bottom bracket with a torch while continuing to apply force. Remember to take all necessary safety precautions when working with heat.
Preventive Maintenance and Care for Bottom Brackets
To ensure the longevity and optimal performance of your bottom bracket, it is crucial to follow a regular preventive maintenance routine. Start by regularly cleaning your bike and paying special attention to the bottom bracket area. Use a mild degreaser and a soft brush to remove dirt, grime, and debris. After cleaning, make sure to dry the area thoroughly.
Lubrication is also essential for preventing issues with your bottom bracket. Apply a quality bike-specific lubricant to the bearings and rotating parts of the bottom bracket. This will help reduce friction and prevent rust or corrosion from developing.
Additionally, inspect your bottom bracket regularly for any signs of wear or damage. Look for excessive play or roughness when turning the cranks. If you notice any issues, it’s best to have a professional check and possibly replace the bottom bracket.
By following these simple maintenance practices, you can extend the lifespan of your bottom bracket and enjoy smooth and silent rides without any unexpected issues.
Importance of regular cleaning and lubrication
Regular cleaning and lubrication are crucial for maintaining the optimal performance and longevity of your bicycle’s bottom bracket. By regularly cleaning the bottom bracket area with a mild degreaser and soft brush, you can remove dirt, grime, and debris that can cause wear and damage.
Lubrication is equally important as it reduces friction between the bearings and rotating parts of the bottom bracket. This helps to prevent rust or corrosion from developing and ensures smooth operation.
By incorporating regular cleaning and lubrication into your maintenance routine, you can extend the lifespan of your bottom bracket and enjoy smoother, quieter rides. It only takes a few minutes of your time but can save you from costly repairs in the long run. Don’t forget to dry the area thoroughly after cleaning to avoid moisture-related issues.
Tips to extend the lifespan of a bottom bracket

To extend the lifespan of your bottom bracket, there are a few important tips to keep in mind. Firstly, make sure to perform regular cleaning and lubrication on your bottom bracket, as mentioned earlier. This helps to prevent debris buildup and friction that can lead to premature wear.
Secondly, avoid subjecting your bike to excessive moisture or water exposure, as this can cause rust and corrosion in the bottom bracket area. If you ride in wet conditions, be sure to dry and lubricate the bottom bracket afterwards.
Additionally, when riding on rough terrain or encountering obstacles, try to avoid putting excessive strain on the bottom bracket by using proper techniques such as shifting gears smoothly and avoiding sudden impacts.
Lastly, it’s essential to regularly inspect your bottom bracket for any signs of damage or wear. By catching potential issues early on and addressing them promptly, you can significantly extend the lifespan of your bottom bracket.