Last Updated on September 28, 2024 by Vinson Lozano
Flat tires are an unfortunate but common experience for cyclists. Whether you’re commuting, running errands, or enjoying a leisurely ride, knowing how to change the inner tube on a bicycle is essential for every bike owner. This guide will cover the steps involved in replacing a bike tube, troubleshooting bicycle tire issues, and performing general bicycle maintenance, making it easier for you to get back on the road quickly after dealing with a flat bike tire.
Key Takeaways
- Learning to change the inner tube on a bicycle can save time and money.
- Basic tools needed include tire levers, a new inner tube, a pump, and a patch kit.
- Familiarize yourself with your bike’s specific tire and tube size before starting.
- Always check for foreign objects in the tire and rim to prevent future flats.
- Regularly inspecting and maintaining your tires can extend their lifespan.
Understanding the Inner Tube
The inner tube is a critical component of your bicycle, allowing the tire to hold air. When you have a flat, it usually means the inner tube has been punctured or damaged. By learning how to change the inner tube on a bicycle, you can ensure that your bike is always ready to roll, whether for commuting to work or on a weekend adventure. As you gain confidence in your ability to manage bicycle tire repair, you’ll find that flat tires are less of a hassle and more of an easy fix.
Tools You’ll Need
Before we get into the details of how to replace the bicycle inner tube, let’s gather some essential tools. Having everything you need on hand will streamline the process and reduce frustration.
- Tire levers: These help pry the tire away from the rim.
- New inner tube: Make sure it matches the size of your current tube.
- Pump: A hand pump or a portable air compressor will do.
- Patch kit: Handy for temporary fixes until a full replacement can be done.
- Allen wrench set: Needed for removing certain types of bike wheels.
Step-by-Step Guide to Change Inner Tube on a Bicycle
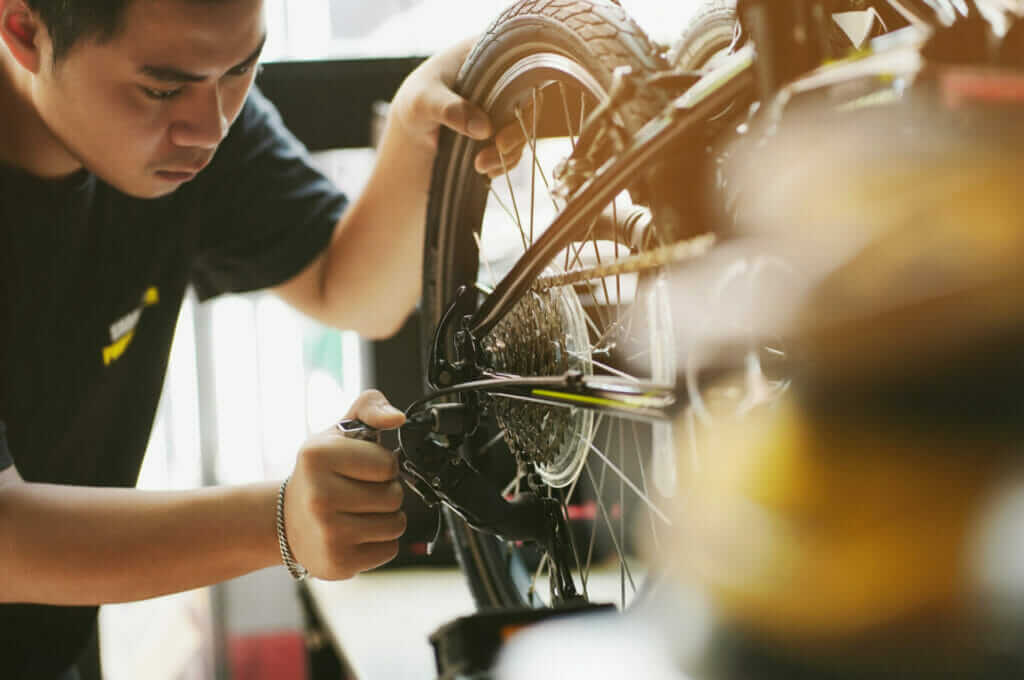
Step 1: Remove the Wheel
To begin changing the inner tube, you first need to remove the wheel from the bike. Depending on your bike type, this may require specific tools. If your bike has quick-release levers, simply open them, and lift the wheel off. For bikes with bolts, a wrench will be necessary.
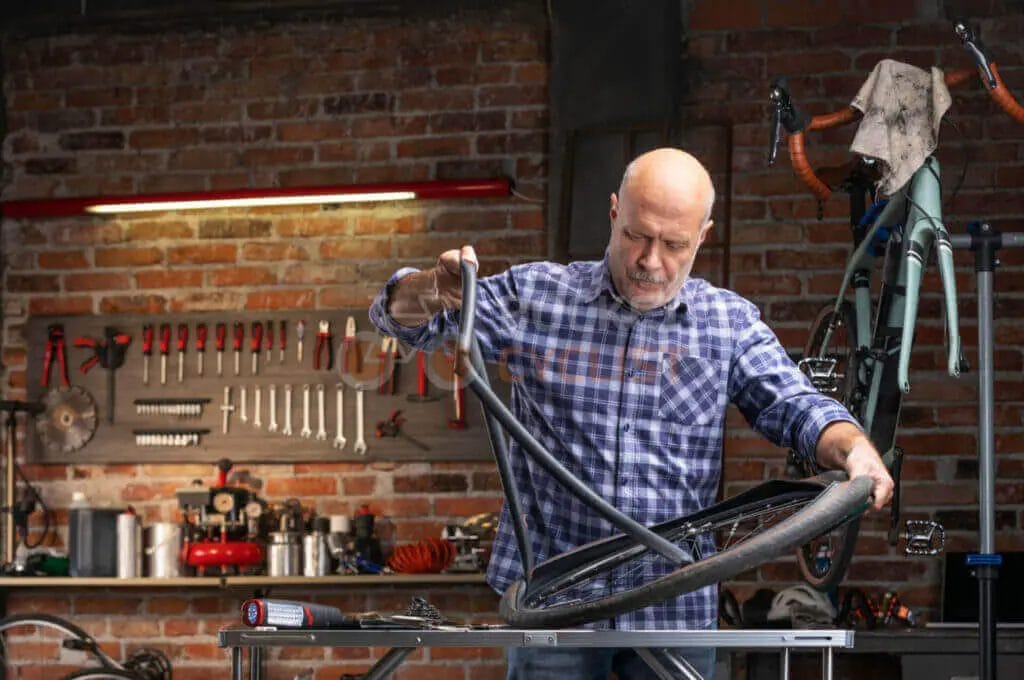
Step 2: Take Off the Tire
Once the wheel is detached, it’s time to remove the tire. Insert the tire levers under the bead of the tire—this is the outer edge that sits on the rim. Use the levers to pry the tire off the rim, working your way around the wheel.
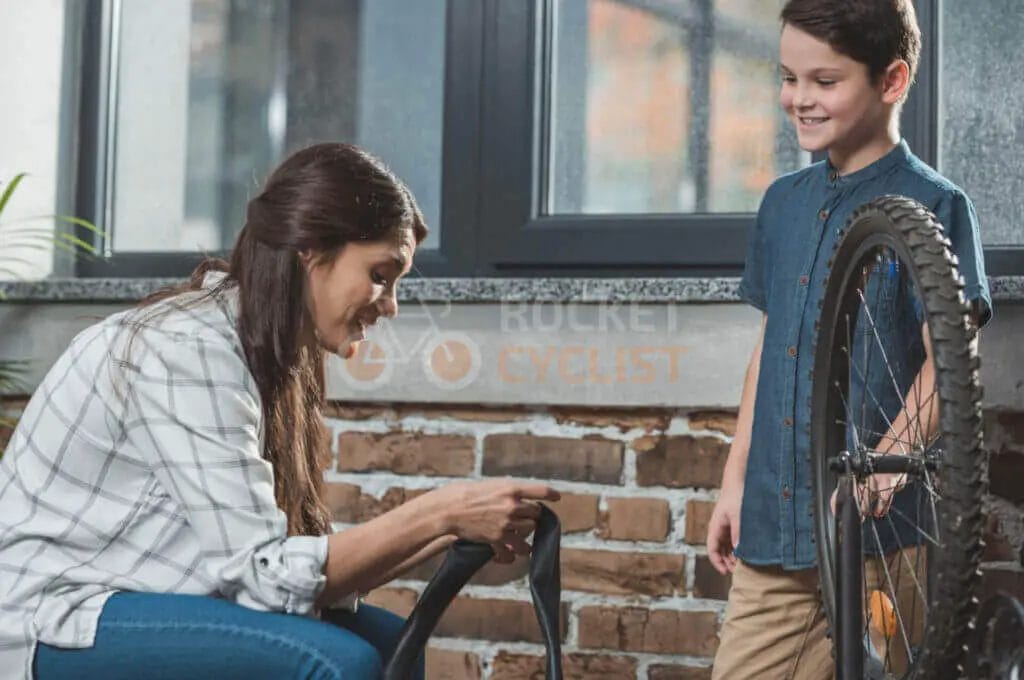
Step 3: Remove the Flat Inner Tube
After the tire is loose, you can pull out the inner tube. Be careful and make sure to notice how the tube is positioned, as this knowledge will guide you when installing the new one.
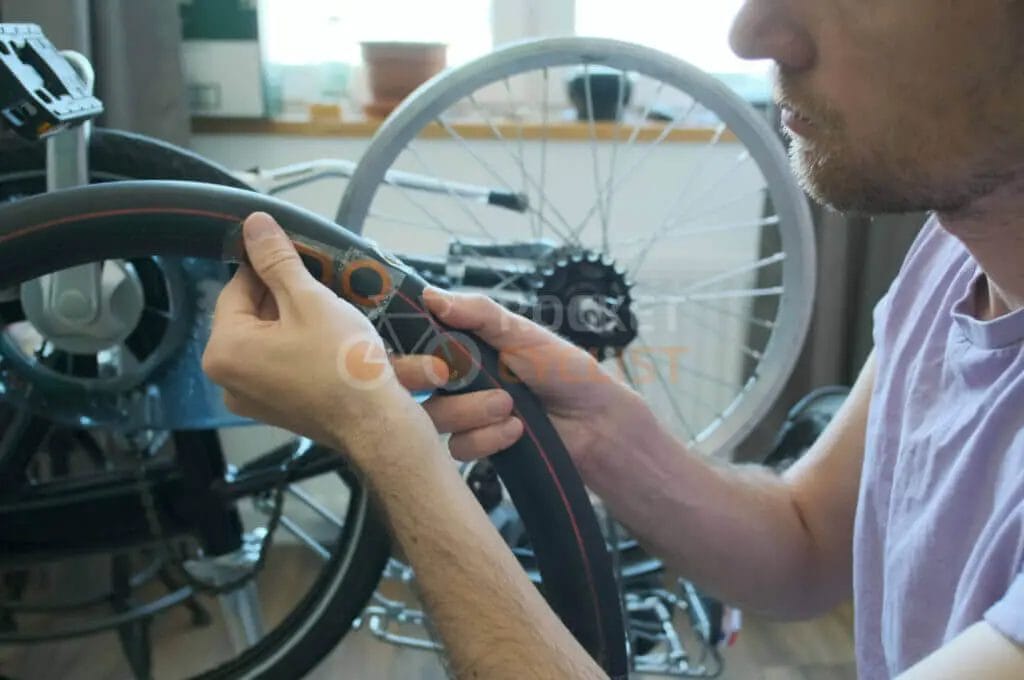
Step 4: Check the Tire and Rim for Damage
Examine the inside of the tire for any sharp objects like nails or glass that caused the puncture. It’s also wise to look at the rim for any burrs or sharp edges that need addressing—this bicycle maintenance task could help prevent future flats.
Step 5: Insert a New Inner Tube for Bicycle
Now that you’re ready to insert a new inner tube, start by slightly inflating it so that it maintains its shape, making installation easier. Carefully place the new tube inside the tire, ensuring it sits correctly and isn’t twisted.
Step 6: Reattach the Tire
Using your hands, push the tire back onto the rim, working around the edge. If it won’t go on smoothly, use the tire levers again, but avoid pinching the new tube between the tire and rim, as this can cause another flat.
Step 7: Inflate the New Inner Tube
With the tire properly seated, it’s time for inflation. Use your pump to inflate the tire to the recommended pressure listed on the sidewall of the tire. Check both sidewalls to confirm you’re within the right pressure range for safe riding.
Step 8: Reattach Wheel to the Bike
Finally, place the wheel back on the bike, securing any quick-release or bolt mechanisms in place. Ensure everything is tightened properly.
Maintenance Tips for Preventing Flats
- Regular Inspection: Before each ride, inspect your tires. Look for any noticeable wear or debris that could cause damage.
- Proper Inflation: Keep your tires inflated to the recommended pressure. Under or over-inflated tires are more prone to flats.
- Avoid Dangerous Terrain: Steer clear of roads or trails that are known to be littered with nails, glass, or any sharp objects.
- Protective Tires: Consider investing in tires that are specifically designed to resist punctures.
Conclusion
Knowing how to change the inner tube on a bicycle is a practical skill every cyclist should master. It provides not just independence but also confidence in handling your bicycle maintenance needs. By following this guide, you can efficiently replace a bike tube and keep your rides enjoyable and uninterrupted. Remember, the more you practice, the easier it gets. Don’t forget to share your experience, ask questions, or offer your own tips below—your insights might just help fellow riders!
FAQ Section
- How do I know if my tube needs to be replaced?
If your tire won’t hold air, or you see visible damage or punctures, it’s time to replace the inner tube. - What size inner tube do I need?
Check the size marked on the side of your tire. Your new inner tube should match this size. - Can I patch my old inner tube instead of replacing it?
Yes, temporary patches can be used for quick fixes, but it’s best to replace the inner tube for long-term reliability. - How often should I check my bike tires?
It’s a good practice to inspect your tires before each ride and check inflation regularly. - What type of pump is best for a bike?
A portable bike pump, preferably one with a pressure gauge, is ideal for most cyclists. - Why does my tire keep going flat?
Persistent flats could be due to sharp objects in your tire, an improperly seated inner tube, or an issue with your rim. - Can I change the inner tube without removing the wheel?
In some cases, if only a specific tire is removable (like on some electric bikes), you may change the tube without taking the wheel off, but it’s more complicated. - How long does a new inner tube last?
With proper care and maintenance, a new inner tube can last several years, but it can wear out faster depending on usage and conditions. - What should I do if I hear a hissing sound in my tire?
A hissing sound usually indicates air escaping. You should remove the wheel and examine the inner tube for punctures. - Is it necessary to change my tire when changing the inner tube?
Not necessarily, but if the tire is significantly worn or damaged, it’s wise to replace it to avoid future issues.
By mastering the process of changing your inner tube and understanding your bicycle better, you not only enhance your riding experience but also ensure safety on every journey.