Last Updated on November 9, 2024 by Vinson Lozano
When faced with the frustrating problem of a rear derailleur not shifting, it can feel as if your entire cycling experience has been thrown into turmoil. Understanding the underlying causes of derailleur problems and learning how to troubleshoot bicycle shifting issues are crucial for any avid cyclist. In this article, we will delve into the most common causes of derailleur malfunction, provide you with derailleur adjustment tips, and examine how to effectively address bike gear shifting problems. Let’s dive into the world of bicycle maintenance and fix those bike shifting issues!
Key Takeaways
- A rear derailleur not shifting can stem from several common issues, including derailleur cable tension problems.
- Regular bicycle maintenance is essential to prevent gears from skipping and assure smooth shifting.
- Understanding the mechanics behind derailleur adjustments can save time and enhance cycling performance.
- Regularly checking your derailleur alignment can mitigate many potential shifting issues.
- Inspecting your bike’s chain will help identify wear and potential causes of shifting problems.
- Knowing how to troubleshoot your rear derailleur will empower you as a cyclist.
Understanding Rear Derailleur Not Shifting
Common Causes of Derailleur Problems
A rear derailleur not shifting properly can lead to a frustrating ride, particularly when you rely on smooth gear transitions for performance. There are several common causes of these derailleur problems, ranging from improperly adjusted components to worn-out parts. Here are some culprits to consider:
- Cable Tension Issues: If your derailleur cable is loose or frayed, it can greatly impact shifting performance. Proper derailleur cable tension is essential to ensure the derailleur moves accurately when you shift gears.
- Misalignment: Over time, the derailleur can become misaligned. This can happen after a fall or even through regular wear and tear. A misaligned derailleur will struggle to shift gears effectively.
- Dirty Components: Dirt and grime can accumulate in the derailleur and along the chain, causing poor performance. Regular cleaning can prevent this and keep your bike in top condition.
- Worn Components: A worn chain, cassette, or derailleur can lead to skipping gears or failing to engage properly. It’s crucial to regularly inspect these components for wear and replace them when necessary.
- Incorrect Limit Screw Settings: The limit screws on your derailleur control how far the derailleur can move. If these screws are set incorrectly, it can prevent shifts from occurring or cause the chain to fall off.
Derailleur Adjustment Tips
Checking Cable Tension
To ensure your rear derailleur shifts effectively, the first step is to check the cable tension. You can do this by:
- Ensuring the shifter is in the highest gear.
- Pulling the derailleur back toward the wheel, which should create some tension. If it feels loose, you may need to tighten the cable.
Aligning the Derailleur
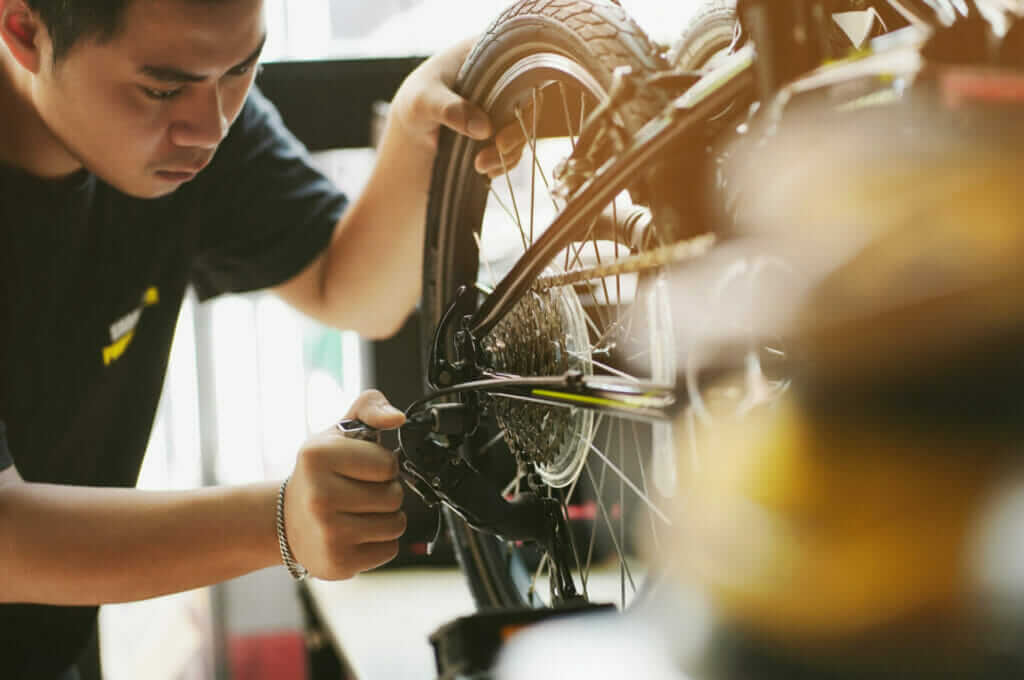
A misaligned derailleur can result in difficulty shifting. Carefully inspect the position of the derailleur and adjust it if necessary. The top pulley should be aligned just above the gear you’re attempting to engage. A quick adjustment can often resolve shifting issues.
Cleaning and Lubricating
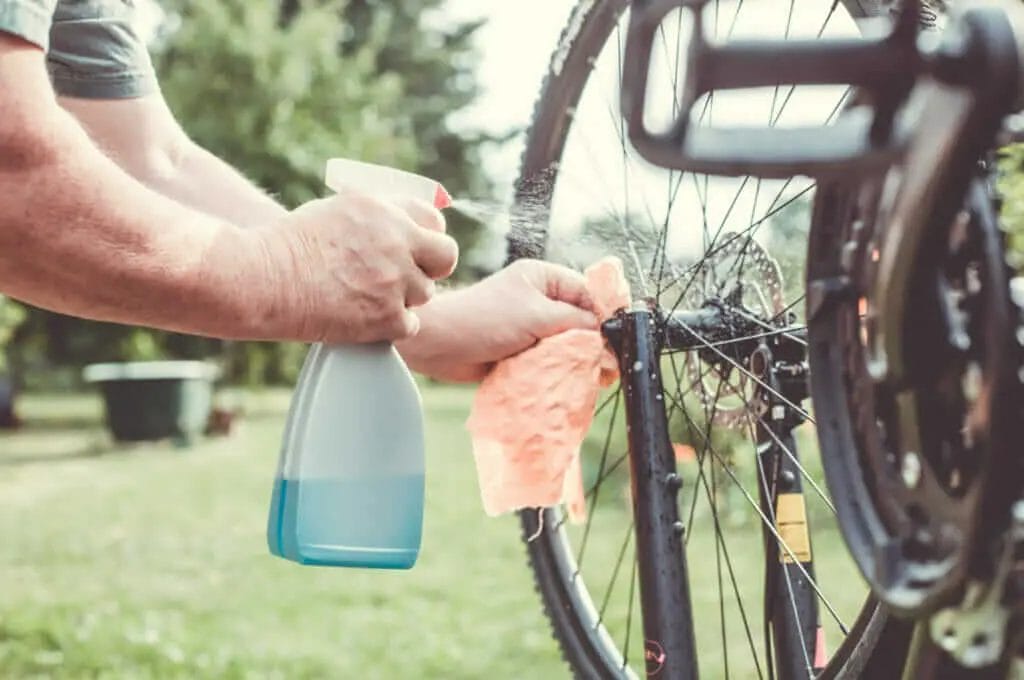
Regular cleaning and lubrication of your derailleur and chain are essential for maintaining smooth gear shifts. Use a degreaser to clean dirty components and a suitable lubricant to ensure they operate smoothly. This maintenance ritual will not only help with your current shifting issues but also prevent future problems.
Troubleshooting Rear Derailleur
Diagnosing Shifting Problems
If your bike is experiencing shifting issues, here are some troubleshooting steps to follow:
- Inspect the Shifter: Ensure your shifter is functioning correctly. If it’s stuck or has no resistance, you may need to replace or repair it.
- Examine the Cable and Housing: Look for any fraying or damage in the derailleur cable and housing. If either is worn, you’ll need to replace them.
- Check the Limit Screws: As mentioned earlier, the limit screws on the derailleur control its movement range. Adjust them to avoid overshifting.
Fixing Bike Shifting Issues
If you find yourself with a rear derailleur not shifting, don’t panic. Here’s how to get back on track:
- Tighten the Cable: Use the barrel adjuster on your derailleur or shifter to increase the tension slightly. This can improve shifting performance.
- Realign the Derailleur: Ensure the hanger is straight. You can use a derailleur alignment tool to correct any bends.
- Adjust the Limit Screws: While shifting through your gears, you should adjust the limit screws until shifts occur smoothly without the chain trying to fall off.
Maintaining Your Bicycle for Smooth Shifting
Regular Bicycle Maintenance
Engaging in regular bicycle maintenance is the best practice to prevent rear derailleur issues. Here are essential steps for ensuring a well-functioning bike:
- Routine Inspections: Check your bike’s components regularly for signs of wear and tear. Pay close attention to the condition of the derailleur, cable, and chain.
- Cleaning Schedule: Develop a routine for cleaning your bike after rides, particularly if riding in wet or dirty conditions. Keeping gears and the derailleur clean will enhance performance and longevity.
- Periodic Adjustments: As your bike ages or experiences heavy use, keep an eye on gear shifting and make necessary adjustments to cable tension and limit screws.
Relatable Insights
As fellow cycling enthusiasts, we understand the urgency of getting your bike back in peak condition. One of the most common experiences shared among cyclists is the frustration of skipping gears or an unresponsive derailleur on long rides. We’ve all been there—whether it was during a tough climb or a sprint finish. Learning to troubleshoot your rear derailleur and understanding bike gear shifting problems can lead to more enjoyable rides.
Conclusion
A rear derailleur not shifting can be a significant inconvenience for any cyclist. However, with a little knowledge and practical approach, you can tackle these common bicycle shifting issues head-on. Whether it’s adjusting derailleur cable tension, aligning your derailleur, or keeping your components clean, proactive maintenance can enhance your cycling experience. Remember, cycling should be a joy, so empower yourself with the skills to fix and maintain your bike effectively.
Call to Action
We’d love to hear from you! Share your own experiences with rear derailleur issues or ask any questions you have about bike maintenance and repair. Happy cycling!
Frequently Asked Questions (FAQs)
- Why is my rear derailleur not shifting?
- Common causes include cable tension issues, misalignment, dirty components, or worn parts.
- How can I fix a skipping chain?
- Inspect the chain for wear, check derailleur alignment, and ensure proper cable tension.
- What do I do if the derailleur is misaligned?
- Use a derailleur alignment tool to straighten it or consult a bike mechanic for assistance.
- How often should I clean my bike’s derailleur?
- It’s best to clean the derailleur and other components after every ride, especially in dirty conditions.
- What are the signs that my derailleur is worn out?
- Signs include inconsistent shifting, rattling noises, and difficulty in changing gears.
- Can I adjust the derailleur myself?
- Yes, with some basic tools and knowledge, you can make adjustments for better shifting performance.
- How do I know if my derailleur cable needs to be replaced?
- Fraying or rust on the cable indicates it should be replaced immediately.
- What might cause my bike to skip gears?
- Possible causes include a worn-out chain, misaligned derailleur, or incorrect limit screw settings.
- Is it necessary to take my bike to a professional for derailleur issues?
- Not always; many issues can be resolved with proper troubleshooting and adjustments, but a professional may be needed for complex problems.
- How can I prevent future derailleur problems?
- Regular maintenance, including inspections and cleaning, will help prevent many issues from arising.


