Last Updated on March 23, 2024 by Vinson Lozano
Imagine the freedom of pedaling through an open stretch of gravel road, the autumn leaves scattered beneath your tires, as the crisp wind brushes against your face.
From beautiful landscapes to the challenges of an unforgiving terrain, gravel biking has taken the cycling world by storm, introducing adventure-seekers and adrenaline junkies to a whole new way to experience the great outdoors.
But what if you could make the experience even more enjoyable by building your very own, custom gravel bike tailored precisely to your needs and preferences?
In this blog post, we’ll guide you through the exciting and rewarding process of putting together your dream gravel bike, so you can conquer those rugged trails with unparalleled style, performance, and passion. So, buckle up, and let’s get those wheels turning!

Introduction to Building a Gravel Bike
Gravel bikes have become increasingly popular among cyclists for their versatility, practicality, and ability to tackle various terrains. These bikes can be customized to suit an individual’s riding style and preferences, offering a unique and personalized riding experience.
Building your own gravel bike not only allows you to choose the exact components and design, but also provides a sense of achievement and attachment to your finished product.
Building a gravel bike from scratch has several advantages over purchasing a ready-made model from a store.
Firstly, you can tailor the bike to your specific requirements, such as optimal gearing, braking, and wheel size. Secondly, constructing your own bike can result in significant cost savings, provided you are able to find the right deals on components and potentially utilize second-hand parts.
It also helps you gain a deeper understanding of your bike’s mechanical aspects, which can prove useful when performing maintenance or repairs in the future.
The cost of building a gravel bike can vary widely, ranging from $500 for a basic setup using a mixture of new and used parts, to $10,000 for a professional-level model. A budget of $1,000 to $1,500 is considered reasonable for constructing a high-quality gravel bike.
To get started with building your own gravel bike, it’s crucial to gather the necessary components and tools. Some key parts to consider include groupsets, brakes, handlebars, and other compatible components. Armed with the right tools and guidance, you can embark on your journey to building a dream gravel bike that is truly your own.
Advantages of Building Your Own Gravel Bike
Riding a gravel bike designed and built according to your preferences can elevate the cycling experience, making it more enjoyable, comfortable, and efficient. Here are four key advantages of building your own gravel bike.
Customization
Building your own gravel bike allows you to choose each component that suits your riding style, terrain, and preferences. From frame material, gear ratios, wheel sizes, brakes, and handlebars, you have the freedom to tailor your bike to your specifications, ultimately improving your overall riding performance and comfort.
Knowledge and Skills
Assembling your own bike teaches invaluable knowledge and hands-on experience about bike maintenance and repair. Familiarity with the components and how they work together contributes to faster and more efficient repairs when needed in the future. In addition, learning these skills fosters a sense of confidence and self-reliance among cyclists.
Cost Savings
Building a gravel bike can save you money, particularly if you are resourceful in finding deals on parts or using quality second-hand components. This also enables you to allocate your budget strategically by investing more in essential elements while cutting back on others that might not be as crucial to your riding experience.
Personal Connection
Constructing your own bike fosters a stronger emotional attachment to the final product. This sense of pride and ownership can motivate you to take better care of your bike, maintain it regularly, and enjoy the rides even more.
How to Decide on Your Budget
When embarking on the journey of building your own gravel bike, one of the most crucial factors to consider is your budget.
Settling on a budget will not only help you make informed decisions about the components and accessories you need but will also ensure that your gravel bike meets your performance requirements without breaking the bank.
Here are a few tips on how to decide on your budget.
Firstly, assess your financial situation realistically. Understand how much you can comfortably invest in a gravel bike without compromising other aspects of your life. This should give you a ballpark figure to work around when researching components, frames, and accessories.
Secondly, consider the level of performance you desire from your gravel bike. If you are new to gravel biking or plan to use your bike for recreational purposes, commuting, investing in an affordable aluminum bike with basic components may suffice.
However, if you are after high-performance features or plan to participate in competitive events, you might need to allocate a larger budget to accommodate for a carbon frame and higher-end components.
Thirdly, don’t forget to factor in the costs of maintenance and potential upgrades. While building a bike on a budget is possible, it’s important to remember that maintenance and potential upgrades will also require financial investment down the road. It’s essential to have some wiggle room within your budget to accommodate these costs.
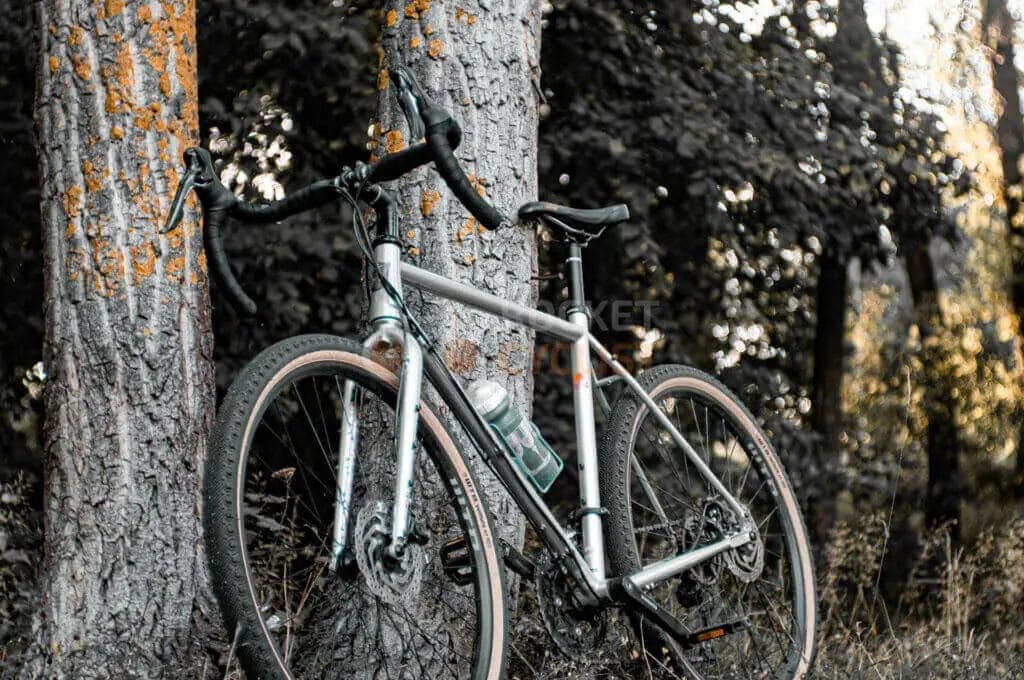
Choosing the Right Gravel Bike Frame

When selecting the perfect gravel bike for your needs, one crucial aspect to consider is the bike frame. Nowadays, gravel bike frames are generally made from four primary materials: aluminum, carbon, steel, and titanium.
Each material has its unique advantages and disadvantages, catering to various rider preferences, budget constraints, and riding conditions.
Firstly, aluminum frames are an excellent choice for budget-conscious riders and beginners. These frames are lighter than steel frames, yet not as stiff as carbon or steel frames. However, aluminum tends to corrode and fatigue over time, reducing its durability compared to other materials. Nevertheless, aluminum gravel bikes continue to be a popular option due to their affordability and satisfactory performance.
Secondly, carbon frames are known for their stiffness, lightweight nature, and suitable power transfer. Often preferred by performance-oriented riders, carbon frames come with a higher price tag but offer significant advantages in terms of weight and durability. However, after a heavy crash, carbon frames must be inspected for cracks to prevent any future failure under stress.
Thirdly, steel frames offer a unique aesthetic, excellent durability, and easy repairability. Although these frames are heavier than aluminum or carbon, many riders appreciate their unique appearance, longevity, and ride quality. Steel frames can withstand the rigors of gravel riding and are ideal for those who prioritize durability over weight.
Lastly, titanium frames combine the best traits of steel and aluminum, offering stiffness, rust resistance, and ride comfort. Although titanium frames are heavier than aluminum and carbon frames, they justify their higher price with exceptional performance and durability. In conclusion, choosing the right gravel bike frame depends on your riding preferences, budget, and the terrain you plan to ride on. Familiarize yourself with these materials and consider their pros and cons before making a decision.
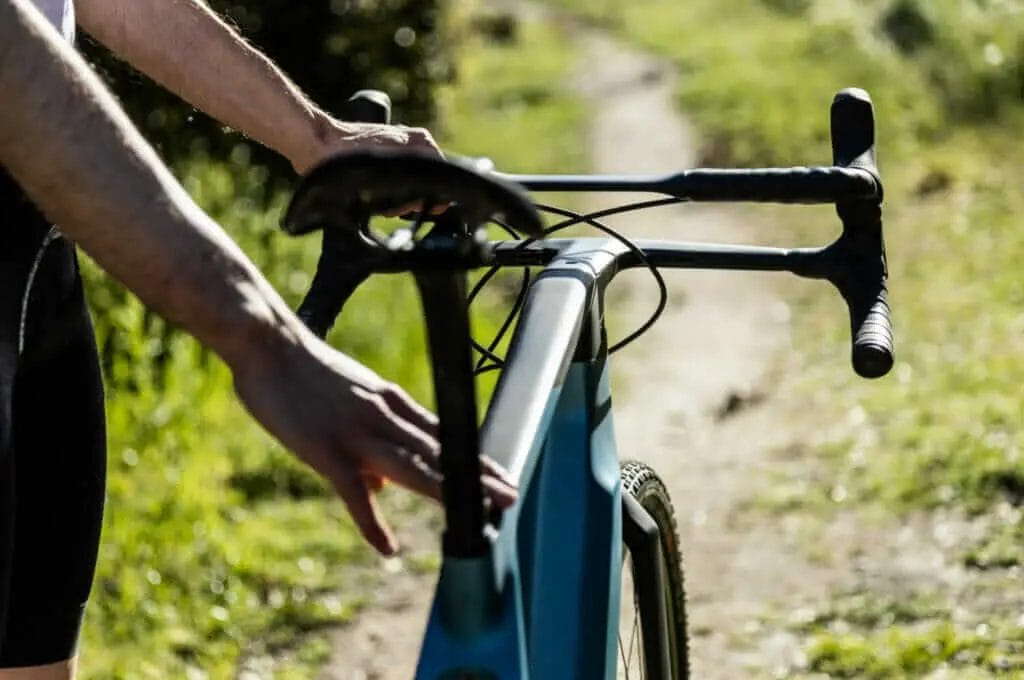
Comparing Cockpit Options: Separate vs Integrated Handlebars

When building your own gravel bike, one essential decision to make is the choice between separate handlebars and integrated handlebars for your cockpit setup.
Both options have their own merits based on your preferences, riding style, and budget. In this comparison, we look at the differences between these two options in terms of customization, ergonomics, and performance.
Separate handlebars, such as flared drop bars, are versatile and offer greater flexibility in terms of customization. With a wide range of options available on the market, riders can easily select the ideal shape, width, and material that best suit their needs.
Flared drop bars offer improved control and stability, making them perfect for those who ride on mixed terrain or rough surfaces. Additionally, upgrading your handlebars can lead to an increase in aerodynamic efficiency at a lower cost compared to purchasing a new bike or high-end wheels.
On the other hand, integrated handlebars combine the handlebar and stem into a single unit, creating a sleek and seamless cockpit. This option is more prevalent among high-end bikes, as it often results in a lighter and stiffer front-end, providing optimal control and responsiveness.
The integrated design may also improve aerodynamics by reducing the frontal area and air turbulence. However, integrated handlebars can be expensive and offer less flexibility when it comes to customization, such as adjusting the bar width or changing the stem length.
Ultimately, the choice between separate and integrated handlebars comes down to individual preferences and budget. Consider factors such as comfort, control, and aerodynamics when deciding which option best suits your needs and riding style.
Deciding on the Ideal Drivetrain: Shimano GRX or Sram Force

When building your own gravel bike, selecting the perfect drivetrain is an essential step in the process.
Two popular drivetrain options for gravel bikes are Shimano GRX6. Deciding on the Ideal Drivetrain: Shimano GRX or SRAM Force.
When building your dream gravel bike, one of the most important aspects to consider is the drivetrain – the system that transfers your pedaling power to the rear wheel.
In the world of gravel biking, two drivetrain options stand out: Shimano GRX and SRAM Force. Both offer exceptional performance and reliability, but understanding their differences will help you make an informed decision for your custom gravel bike.
Shimano GRX is the first purpose-built groupset designed specifically for gravel bikes. It is available in multiple configurations, including 1×11, 2×11, and 2×10-speed drivetrains.
What sets GRX apart is the optimized gear ratios, wider tire clearance, and refined ergonomics that make it ideal for off-road adventures. Its clutch-equipped rear derailleurs, durable and reliable hydraulic disc brakes, and comfortable hoods provide confident control on various surfaces.
On the other hand, SRAM Force is renowned for its lightweight construction and superb shifting performance. While not designed solely for gravel riding, its 1x or 2x options, combined with wide-range cassette options, make it a versatile choice for any terrain.
SRAM’s wireless electronic version, the Force eTap AXS, offers effortless, precise shifting without the need for cables – an attractive feature for those seeking a clutter-free cockpit.
Ultimately, when choosing between Shimano GRX and SRAM Force, consider your riding preferences, budget, and desired performance. Both groupsets have a loyal following among gravel riders and offer the necessary durability and efficiency for your off-road endeavors. Weigh the pros and cons, and make an informed decision to build your perfect gravel machine.
Understanding Wheelset Material and Hub Options

When building your own gravel bike, it’s crucial to understand the different wheelset material and hub options available to ensure a durable, smooth ride. Choosing the right wheels can greatly impact your cycling experience, so it’s essential to know the facts before making a decision.
Wheelsets are typically made from aluminum or carbon fiber. Aluminum wheels are generally more affordable and offer excellent durability, making them a popular choice for beginners or riders on a budget. On the other hand, carbon wheels are known for their lightweight construction and improved stiffness, which can enhance the handling and overall performance of your gravel bike.
However, they tend to be more expensive and may be less forgiving on rough terrain.
In terms of hubs, there are two main options to consider: quick-release (QR) and thru-axle. QR hubs are an older, less secure solution used for attaching the wheels to the bike.
While they are still available in the market for some entry-level gravel bikes, it is not recommended to choose this option as it may affect the stability and overall ride quality of your gravel bike.
Thru-axle hubs have become the modern standard for gravel bikes, providing increased stiffness and security over their QR counterparts. They usually come in two sizes: 12x100mm for the front wheel and 12x142mm for the rear wheel. Thru-axle hubs are an excellent choice for improved handling and performance, ensuring you get the most out of your custom-built gravel bike.
Choosing the Best Gravel Tires

Selecting the right gravel tires for your bike is a crucial decision, as they play an essential role in determining your bike’s overall performance, comfort, and safety. When searching for the perfect tires for your gravel bike, it is essential to consider various factors, such as your intended riding conditions, the tire’s size, and the available tire options.
First, consider the terrain and surface conditions you expect to encounter on your rides. Gravel tires are designed to handle various surfaces, from smooth dirt roads to rough and rocky trails.
For optimum performance, choose tires with the right tread pattern to provide the best grip and comfort on both paved and unpaved routes. Generally, tires with low-profile knobs or smooth center treads are ideal for mixed surfaces, while more aggressive designs with deeper, wider-spaced knobs are suitable for loose or muddy trails.
Next, think about the tire size that will best fit your bike and riding preferences. Wider tires enable better traction and comfort, especially on rough roads. However, they can be heavier and slower on smooth surfaces. For gravel bikes, a popular tire width ranges between 35-45mm, providing a good balance between comfort, traction, and speed.
Lastly, consider the available tire options – tubeless or with inner tubes. There are tubeless, clincher, and tubular tire options, with each choice offering distinct advantages and drawbacks.
Tubeless tires are becoming increasingly popular for gravel bikes, as they remove the tube’s potential for punctures and allow you to run lower tire pressures for improved traction and comfort. Considering these factors and researching available tire models can help you determine the ideal gravel tires for your specific needs and preferences.
Knowing Your Bottom Bracket Shell and Compatible Cranksets

When building your own gravel bike, it is essential to understand the bottom bracket shell and choose compatible cranksets to ensure a smooth, efficient, and comfortable ride.
The bottom bracket shell is the part of the bicycle frame that houses the bottom bracket- the component that connects the bicycle’s crankset to the frame and allows it to rotate. Selecting the right bottom bracket shell and crankset combination is crucial for the overall performance of your gravel bike.
There are several types of bottom bracket shell standards, such as BSA (English threaded), BB30, PF30, BB86, and BB92. Each standard has its unique features and compatibility with specific cranksets.
For instance, BSA bottom bracket shells are compatible with threaded cranksets, while BB30 shells work with cranksets that have a 30mm spindle diameter. It is vital to know your chosen frame’s bottom bracket standard and choose a crankset that fits this standard.
Cranksets for gravel bikes are available in various configurations, with double or single chainrings being the most common. Double chainring setups offer a wider gear range, making them suitable for varied terrain often encountered in gravel riding.
Single chainring setups require less maintenance and provide a simpler gearing system, which some riders prefer.
It is crucial to consider the intended use, riding conditions, and personal preferences when choosing a crankset for your gravel bike build. By knowing your bottom bracket shell standard and compatible cranksets, you are one step closer to creating a gravel bike that will provide you with exceptional performance and enjoyment.
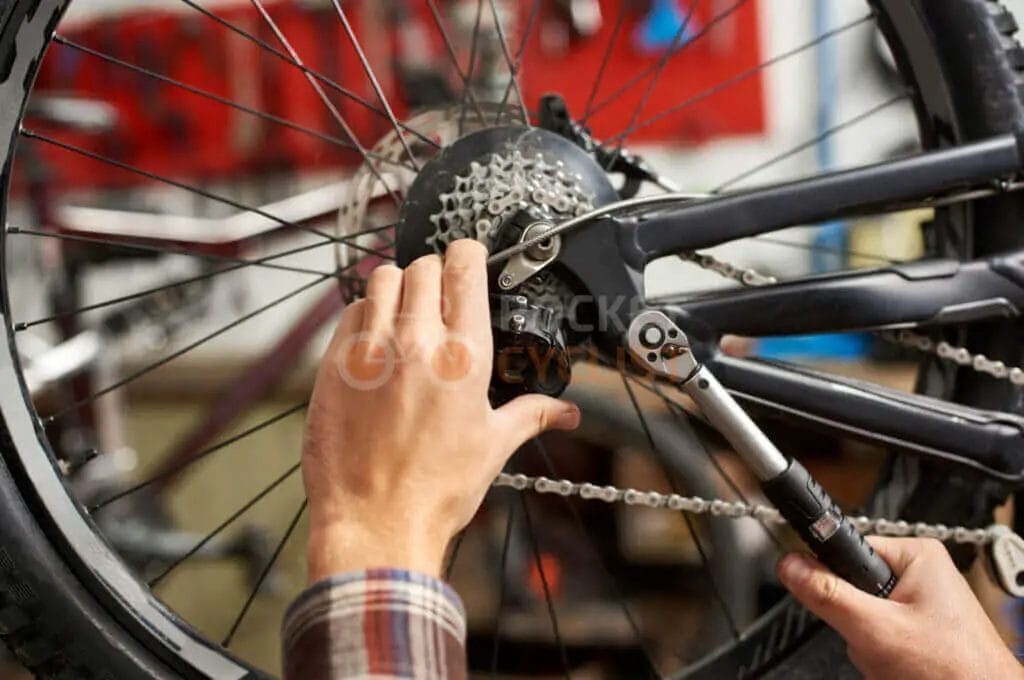
10 Recommended Tools for Building Your Own Gravel Bike
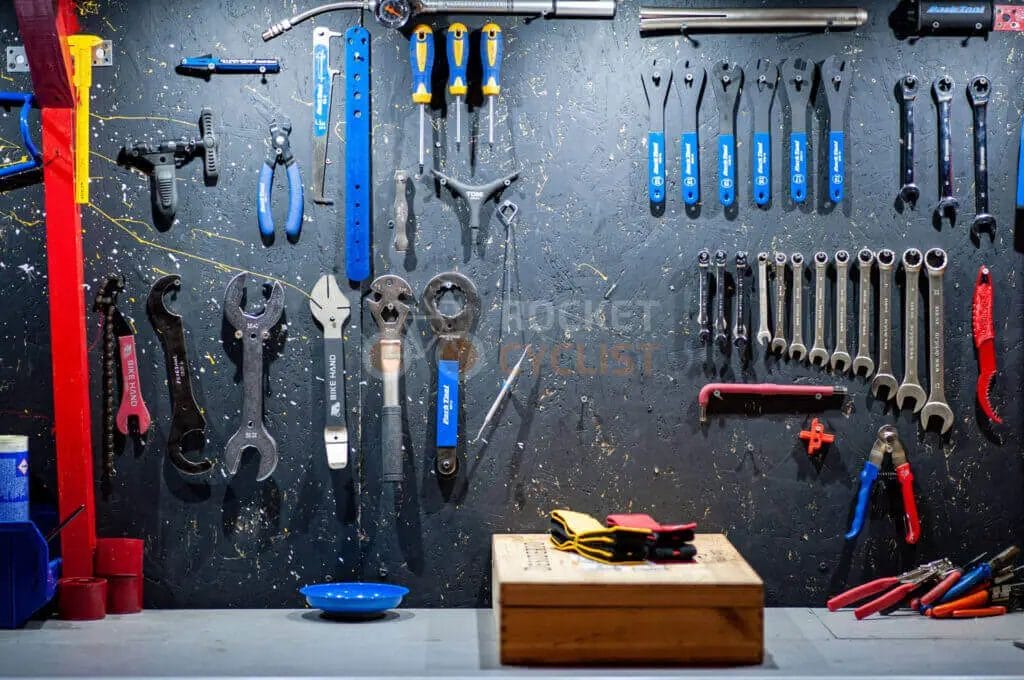
Building your own gravel bike can be a rewarding and educational experience, allowing you to create a bike tailored to your specific needs and preferences. To ensure a successful and smooth build process, it is essential to have the right tools on hand. Here are ten tools we recommend for building your own gravel bike:
Allen keys
A set of Allen keys in various sizes is essential for tightening and loosening bolts on your bike components, such as stem, handlebars and seat post.
Torque wrench
A torque wrench will help you apply the correct amount of force when tightening bolts, to avoid over-tightening and potential component damage.
Headset press
This tool is necessary for installing the headset bearings into the frame, ensuring a proper fit and smooth steering.
Bottom bracket tool
A specific bottom bracket tool will be needed to install and remove the bottom bracket, which is a critical component connecting the crankset to the frame.
Chain breaker
A chain breaker is used to remove and install the bike chain, allowing you to adjust its length and replace it when necessary.
Cassette tool
This tool is used to remove and install the cassette, the rear gear set, onto the wheel hub.
Cable cutters
Sharp cable cutters are essential for cleanly cutting brake and gear cables to the correct length, avoiding fraying and ensuring smooth operation.
Bleed kit
If using hydraulic disc brakes, a bleed kit is needed to remove air bubbles and ensure optimal brake performance.
Bike stand
A sturdy bike stand will make the build process much easier by holding your bike securely and at a comfortable height while you work.
Grease, lubricants and cleaning supplies
Having the right grease and lubricants on hand will ensure smooth operation of your bike’s moving parts and help prevent corrosion.
Having these ten recommended tools on hand will help ensure a smooth and successful gravel bike build, allowing you to craft a bike that is truly personalized and perfect for your individual riding style and preferences.